
I get a lot of questions about the camera I use for photos on the blog. Most of the time, I’m using a digital SLR (our Canon 5D/24-105mm lens), but I’d say 75% of the photos I take overall are taken with a smartphone. And it’s amazing how comparable they are.
Thank goodness, too, because it’s about ten times more convenient to pull out my phone when the kids do something cute—or to share a photo on Instagram. And you don’t need a fancy smartphone; most smartphones now come with great cameras.
With that, and in light of the old adage, “the best camera is the one you have with you,” here are some tips I’ve picked up for taking better photos with any camera phone.

Look for natural light. Diffuse light is generally better. This means cloudy days and a low sun tend to be preferable to shooting at high noon, when the sun is creating harsh shadows. Watch the highlights in the image (and make sure you’re not blocking them). And turn off the flash!
Think about composition and metering and focus points. There’s a tendency to think of pictures taken with our phone as “snapshots” and pictures with an SLR as “photographs.” Treat your phone as you would any camera and remember that all of the fundamentals still apply. You tap on the screen’s preview image to focus the shot and to ask the camera to meter light exposure based on your chosen focal point.
Most phones let you turn on grid lines on your screen, if you want help with keeping a straight horizon or composing a balanced shot. And enabling the grid feature also activates the leveling tool. This tool helps you take level photos when shooting straight up or down. (To switch on the gridlines in an iPhone, open the Settings app and select Camera. Ensure the Grid option is on.)
Get close or crop. Avoid the temptation to use the digital zoom, even if your phone’s camera has a ton of megapixels (the new iPhone). But because the lens is a fixed mm length, you’re really just cropping when you use the zoom—you’re better off getting close to your subject rather than zooming in.
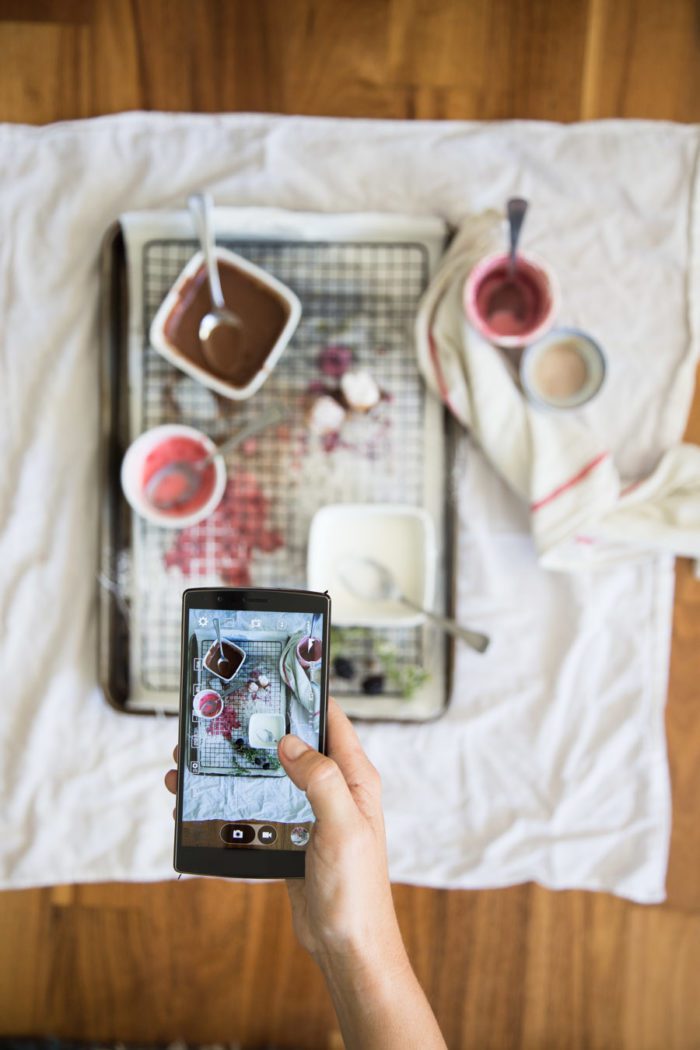
Practice. Study what you like. Straight on shots? Uncluttered backgrounds? Candid shots? Try emulating some of the pros for practice, and then find your own style. (P.S. Here’s how to practice while making these donuts.)
This includes playing with the features on your phone. The iPhone, for example, has different shooting modes depending on the model. The Portrait Mode is perhaps the most notable for the way it attempts to emulate the depth of field created by an SLR. That said, the effect isn’t always perfect (blurred hair and such), so it’s also best to know how to also remove the depth effect and revert to the original image. When you click on Edit, you have the option not only to revert, but also to increase or decrease the background blur by sliding the f/stop number up and down.
Keep your lens clean! Plenty of blurry photos could be crisp if only the phone’s lens were clean. Our phones are tossed in our pockets or purses, touched all day with sticky fingers, and could almost always benefit from a swipe with a lens cloth (the kind you use on your glasses will do).
What are your top tips? What would you add?
And do you use filters? Apps like VSCO and Snapseed offer a lot of different (free) filters that can often take your smartphone pictures up a notch. It’s generally best to keep them discrete, so that the photos don’t appear over-exposed or over-saturated. Of course, there is something fun about using an on-trend filter, but true colors are more timeless. Looking back, I much prefer a properly exposed image. You can also use software for post-processing, like Photoshop or Lightroom. My most common edits usually involve brightening and adding contrast.
P.S. A food styling and photography workshop and a first camera for kids (with Hudson’s travel photos).
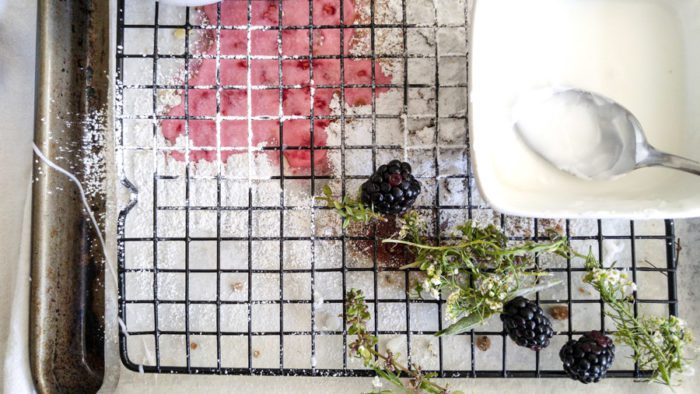
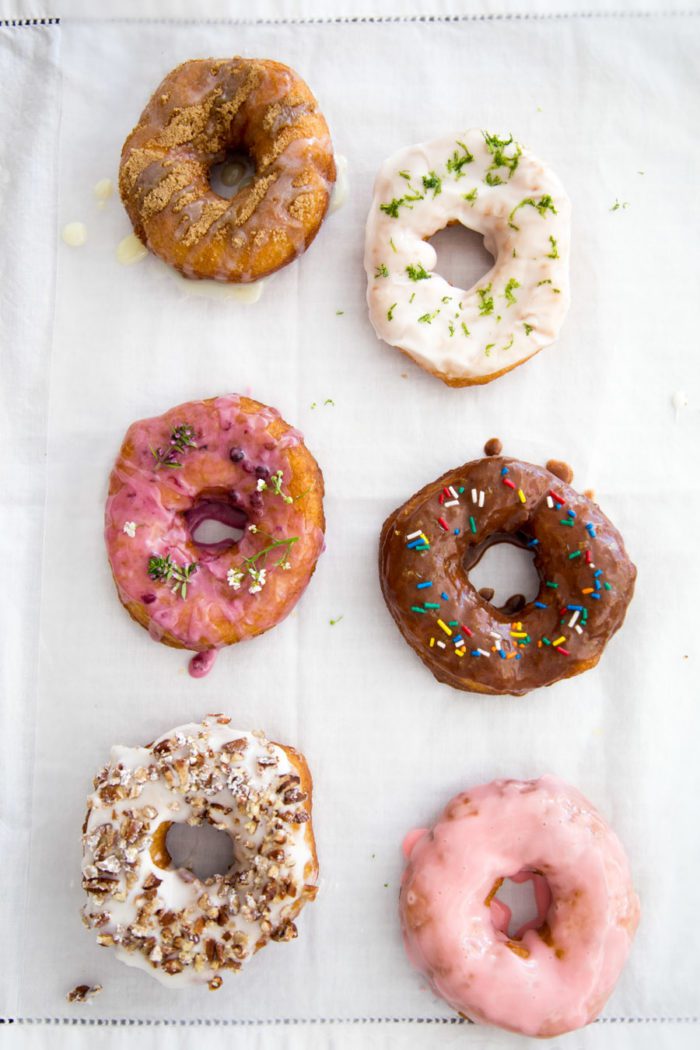
[Photos of The Easiest Two-Ingredient Donuts]


3 Comments