By Anna Smith of Annabode + Co.
Okay, first off—I’m all for DIY! Whether it’s a small project that needs a few hand tools or a full-on renovation, I truly believe that if you have the patience and the time (and the money), you can tackle almost any project you set your mind to. The hubs and I bought our fixer-upper last year with zero experience or skill behind us—just a lot of stubborn determination and a tight budget!
We researched every step that would go into creating our new kitchen, asked neighbors and friends for tools and guidance, and trolled every relevant YouTube video imaginable. And while we are so happy with the result we knew from the beginning that we would be making some sacrifices in quality. Which we were totally okay with if it saved us several thousand dollars in labor.
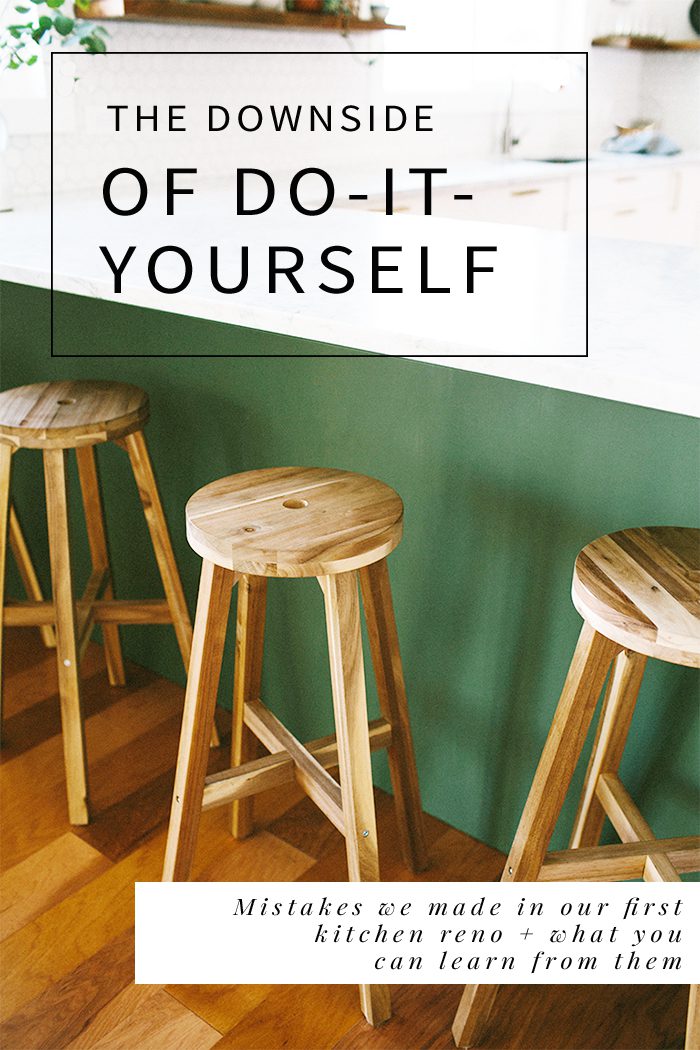
But when it comes to DIYing your kitchen, there is always a trade off. I wanted to share the particular mistakes we made in our own kitchen reno in the hopes that you might be able to avoid them in yours:
1. Rushing projects that need more time.
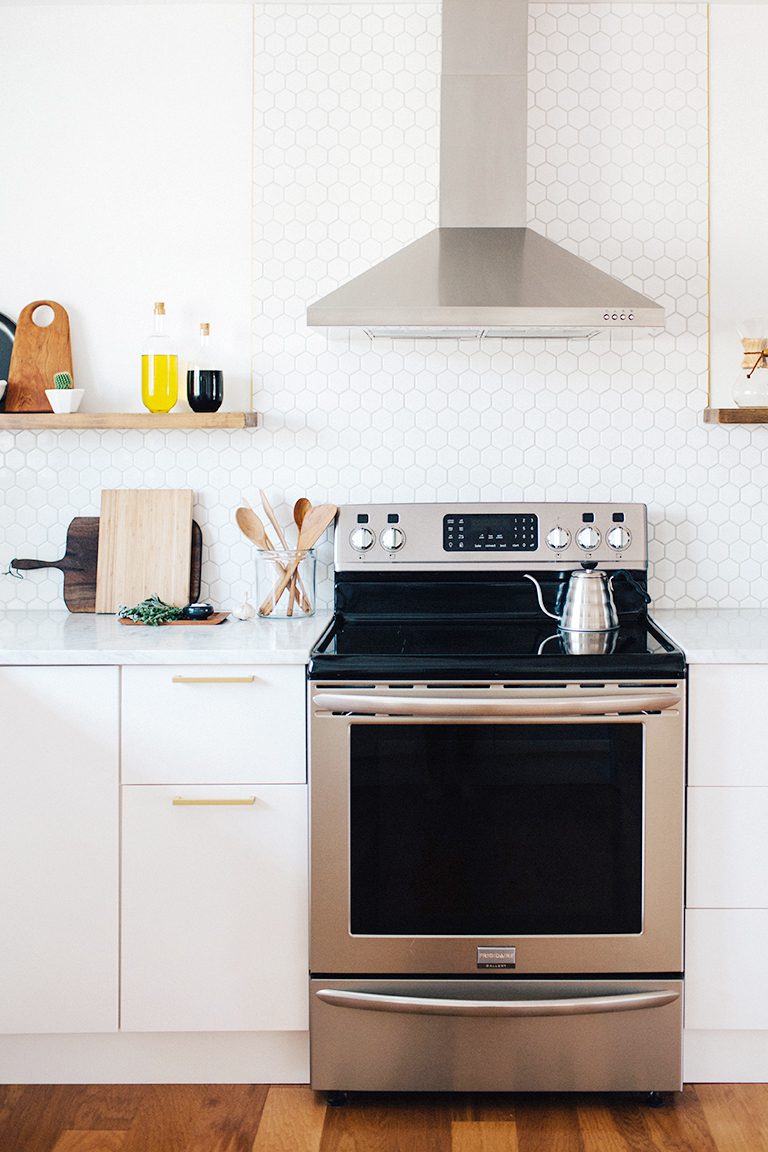
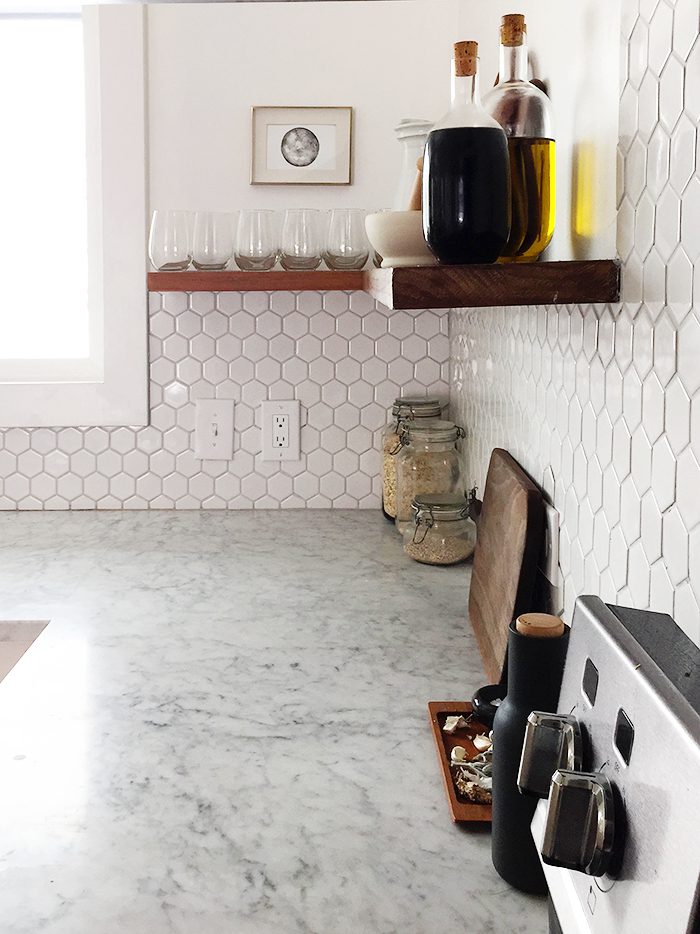
UGH. This was the hardest for me, as living without a kitchen for months meant we were eating a lot of cold pizza, and it got old fast. The best example of this mistake is in our brass tile edging—which looks great from far away…
but up close looks like this:
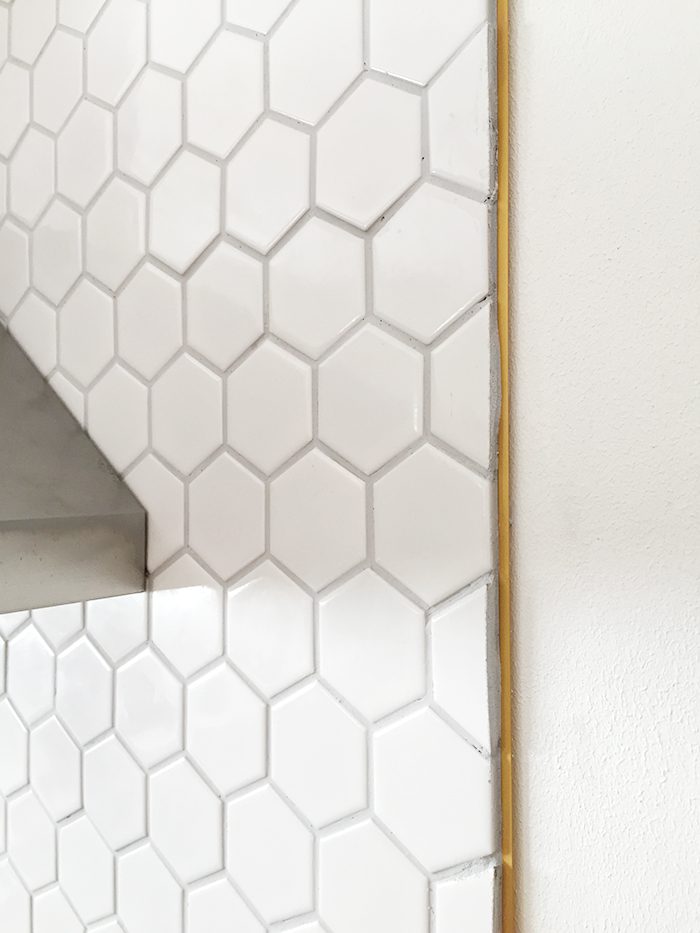
And unfortunately, this one is entirely my fault. The backsplash was the last thing we installed and we were definitely rushing to get this baby done. I knew I wanted brass edging and found the right brand at Home Depot, but they only had one size in the store and I didn’t want to order it and wait for it to arrive.
When I brought it home I immediately realized it was waaaaay to shallow, and that it wouldn’t cover the edges of the tile at all, but I just wanted to finish that room and be done with it! So we installed it anyway. And yes, it bothers me all the time.
SO if you find that something goes wrong, that you purchased the wrong material, or that the grout says to wait a few days before sealing…do it right. You’ll never regret that the project took longer, but you will regret a poor result.
2. Using the wrong tools for the job.
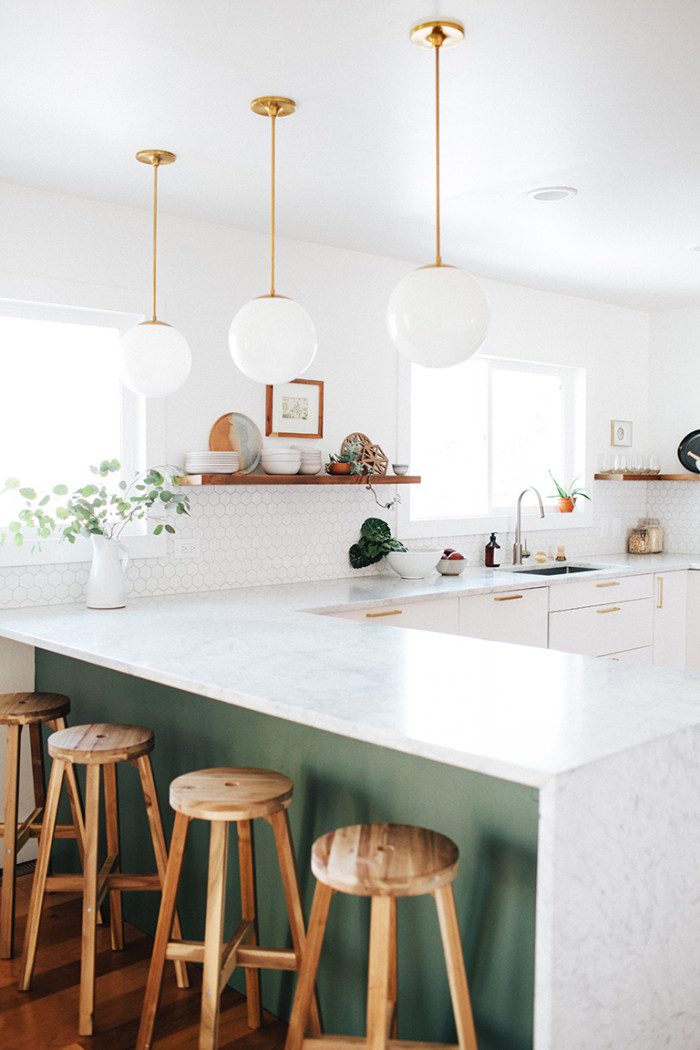
This one is so tempting, both because of the time-thing and because good tools can get expensive. Sometimes you can use other tools to do the job, but other times you need something specific to get the right result. We ran into this with our floating shelves…
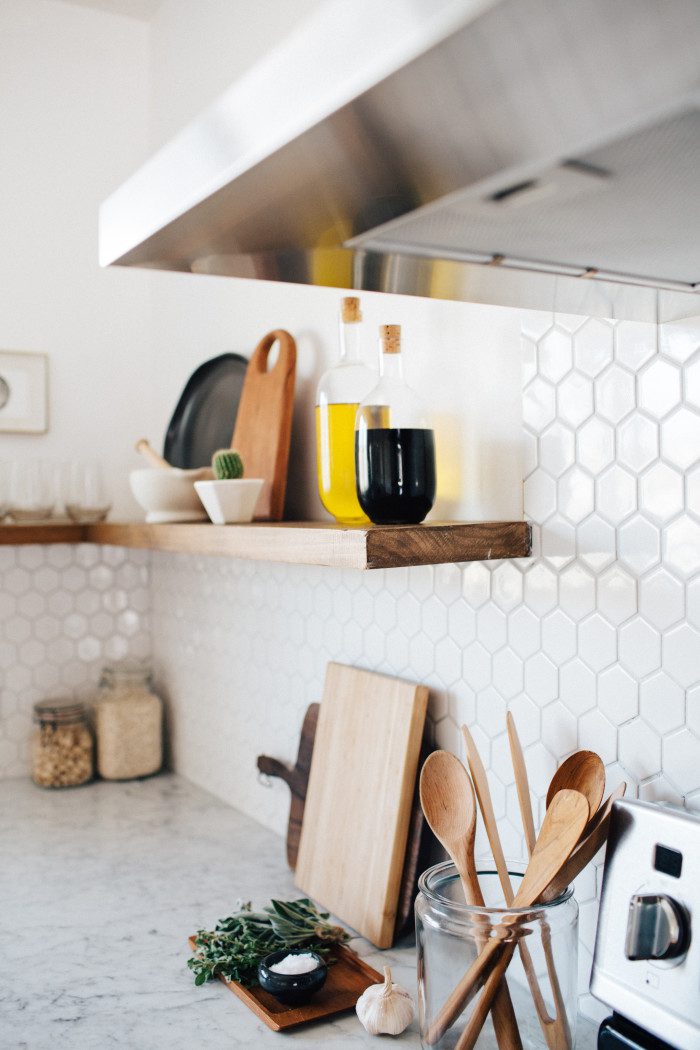
We used blind shelf supports from Rockler Woodworking to turn our West Elm shelves into floating ones, which involved drilling large, deep holes into each board. In order to drill straight into the wood, you need to use a drill with a built-in level – but we thought it would be silly to get an entirely new drill when we had a perfectly good one on hand. So we tried doing it by sight, and the result is this wonky tilting shelf:
I may be the only one who notices it, and the fact that we only did one shelf on each wall means we only have the counter surface to compare it to. If there had been another shelf above, I guarantee the problem would have been much more noticeable.
Lesson learned? Spring for the right tools—try looking on Craigslist or Ebay to cut costs, but don’t skimp out entirely if it could result in a major mistake.
3. Choosing the least expensive quote from the pros.
Style goddess Emily Henderson likes to say that if a home professional is cheap, chances are the quality will be as well, and I hate to say that, in our case, this proved correct. We ran into a big snag with the existing popcorn/tile/drywall ceiling combo and since we were already stretched thin, we had our electrical contractor put up the new ceiling rather than pay more for a drywall pro. As long as you keep your eyes down in the kitchen, you don’t see it…
But as soon as you look up, your eyes are feasted to this:
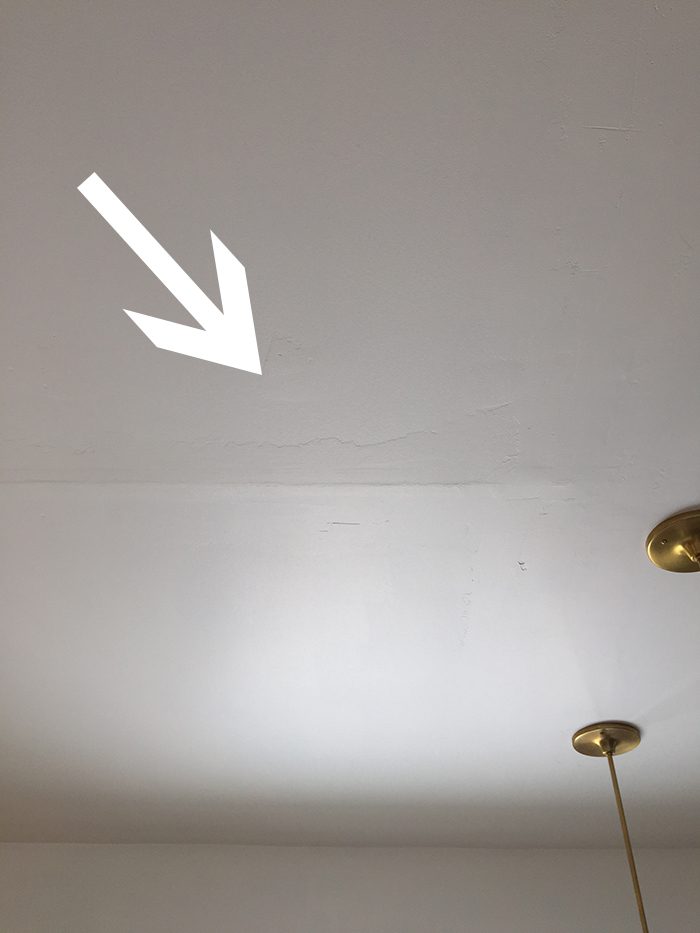
We could have gone over everything and sanded it again ourselves, but like I said—we made the the mistake of rushing through a few projects and instead painted over it. Sigh.
Faced with this decision again, I’d much rather pay more for good work than to have a constant eyesore. And if you have to hire a pro, ask for photos of their work beforehand and know that there’s probably a reason for someone’s low quote.
4. Cutting costs in the wrong places.
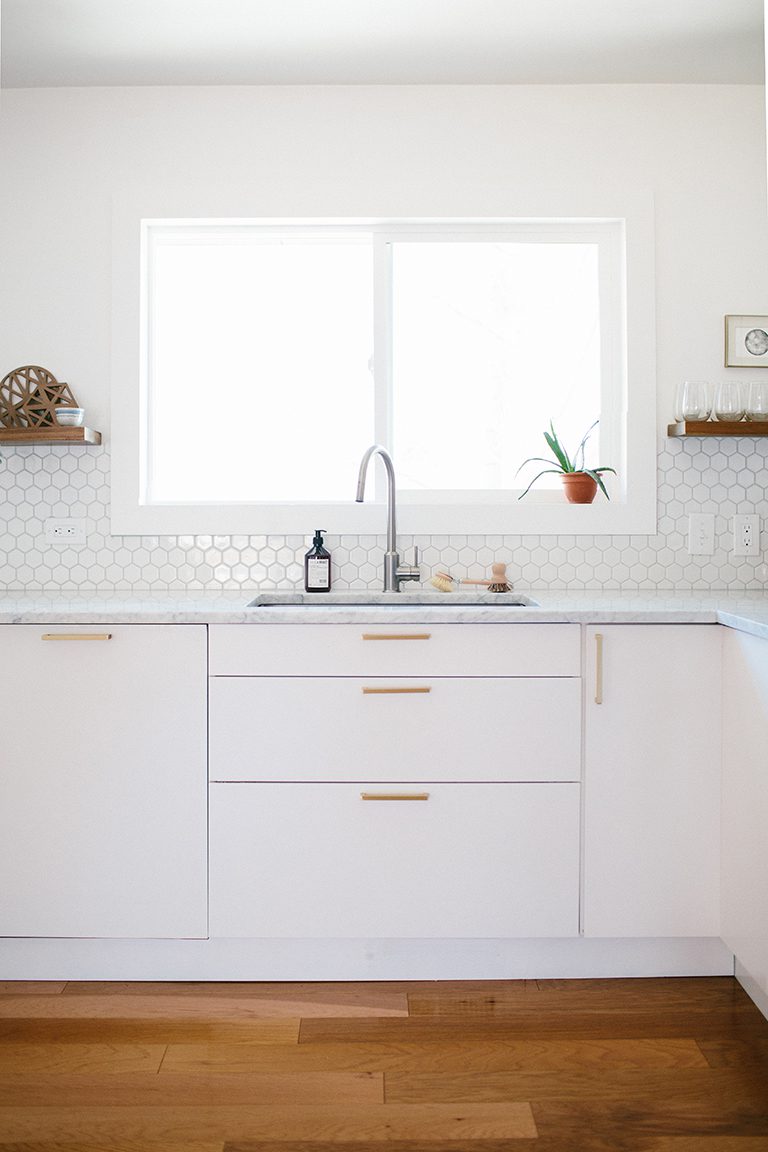
Now, what is a “wrong” place to cut costs is of course debatable, and I’m sure different for every home and every homeowner. Most of the time saving money is AWESOME and often you can still get excellent results—I feel this way about IKEA cabinets, for example. But sometimes cutting costs can get downright silly, like with our peninsula (above).
I tried several different shades of paint before settling on Cushing Green by Benjamin Moore, but as I had just spent about $30 on paint samples I really didn’t feel like going out and spending another $30 on paint when I knew I could cover the whole area with the rest of my sample pot. Of course, paint samples are almost always flat and our cabinets are somewhere between an eggshell and a semi-gloss. So instead of blending beautifully with the rest of the kitchen, the bar is dull and looks dirtier much more quickly:
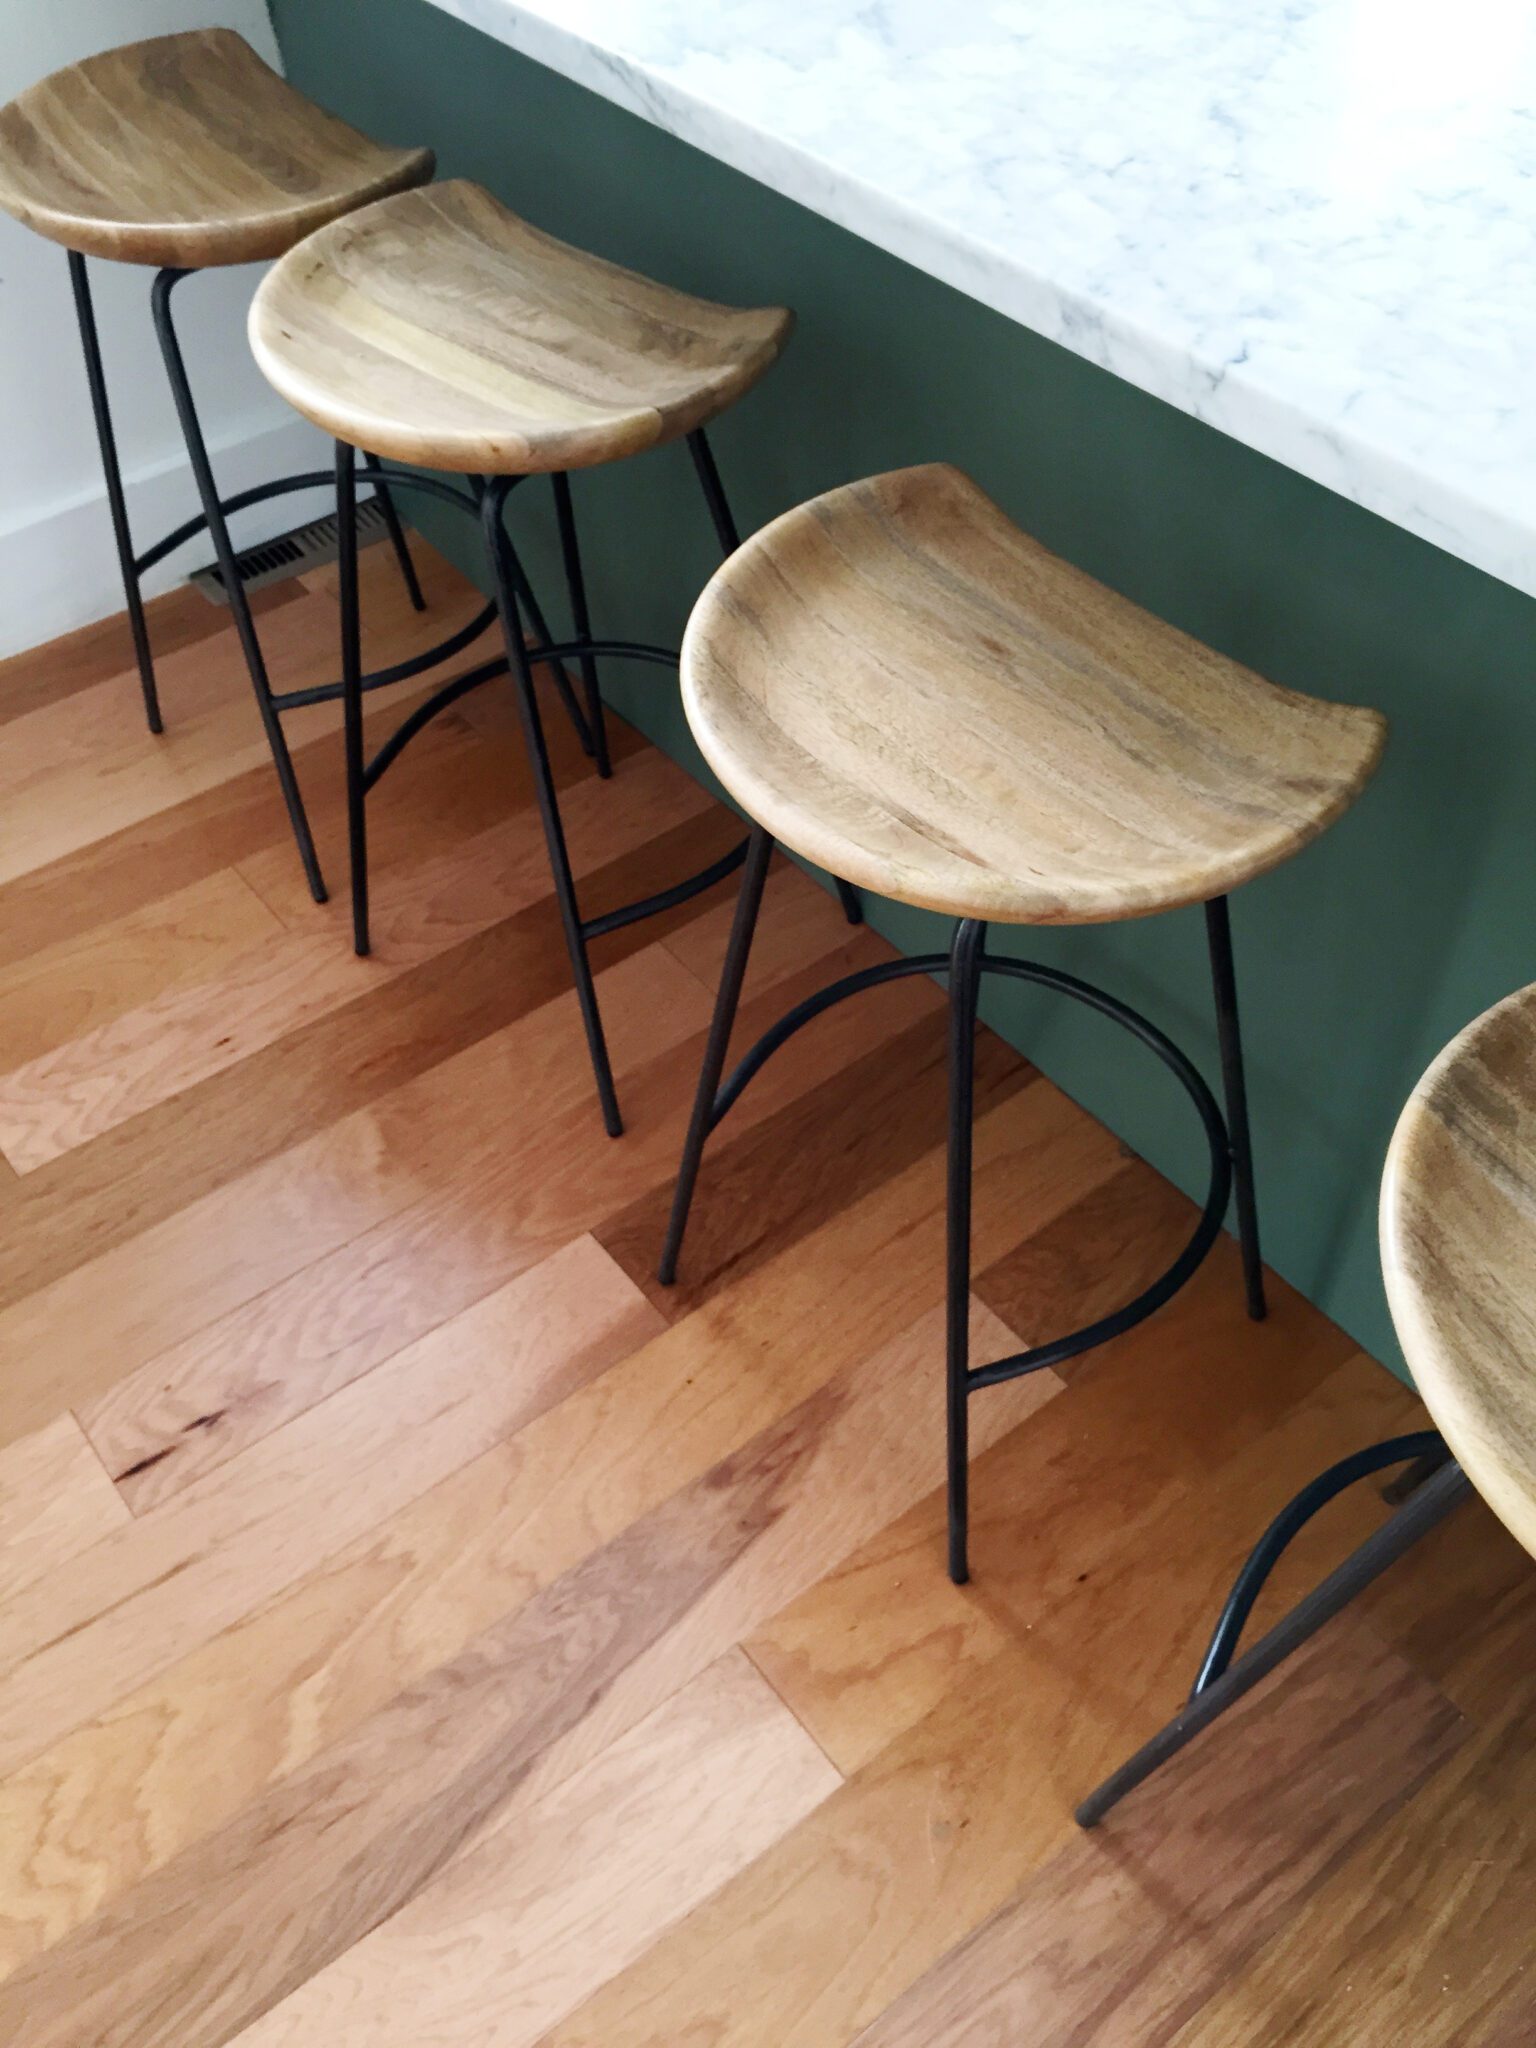
(Yes, those are different bar stools).
This is at least one mistake with an easy fix, and some day I’ll get around to it. But I do wish I had just bit the bullet, spent a little more money, and done it right the first time!
5. Thinking ‘good enough’ is actually good.
If you’ve ever remodeled your kitchen yourself, you know that at the end you just want to get that baby done already! And maybe you make some choices that you aren’t 100% happy with, but you talk yourself into them so you can move onto the next project. We made this mistake with our toe-kick, which besides the lack of sheen on the bar is the biggest thing that drives me nuts about our kitchen. Judging by this photo, you may think I’m crazy:
But in reality, a heck of a lot of Photoshop went into that photo. Here’s what our toe kick really looks like:
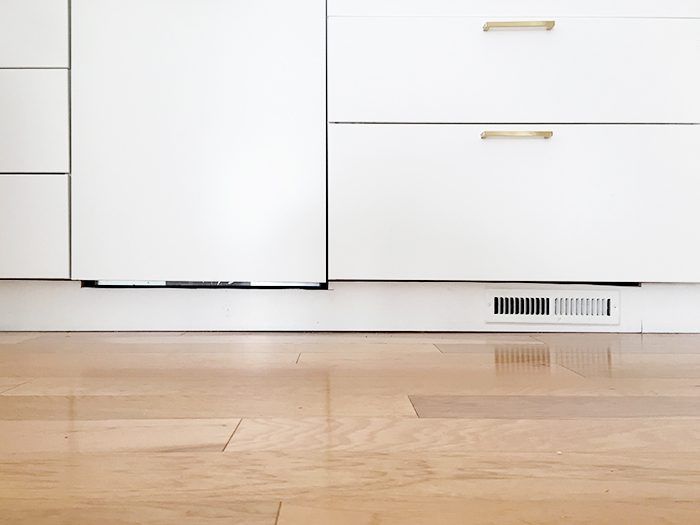
First off, the way we attached the front panel to our dishwasher means the toe kick below it needs to be lower or else we can’t open the dishwasher all the way. That was the first mistake. The second was using a jigsaw to cut out a notch in the wood, which made for a seriously wiggly opening (see #2!). And the third? Using a single board that wasn’t long enough and trying to add onto it with a shorter piece.
What really happened is that one mistake turned into another and then another, and before we knew it we had wasted a lot of time and a bit of money on something that was never going to look good. But it functioned, so we left it.
Instead, we should have pulled ourself up by the bootstraps and started from scratch. The dishwasher should have been lowered, the panel installed higher, and a separate toe kick used for underneath. But alas, that didn’t happen…and I secretly fear we won’t get around to it until it come times to sell the house.
SO. If it doesn’t look good, it isn’t actually good. And if you’re putting all that time and money into such a permanent part of your home, it should be amazing, right?
Have you ever made a reno mistake that you’ve regretted?
Photo credits: Chandler Kim and Anna Smith
Thank you, Anna! Such helpful tips! Though, for the record, I do think your kitchen looks amazing!
Anna Smith wants to live in a world where good design is accessible and affordable for everyone. An interior stylist and e-designer based in Denver, Colorado, she creates modern homes for clients across the country through her firm Annabode + Co. When not buried in swatches and throw pillows, you can find her elbow-deep in renovations at her own fixer-upper. Work with Anna.


14 Comments