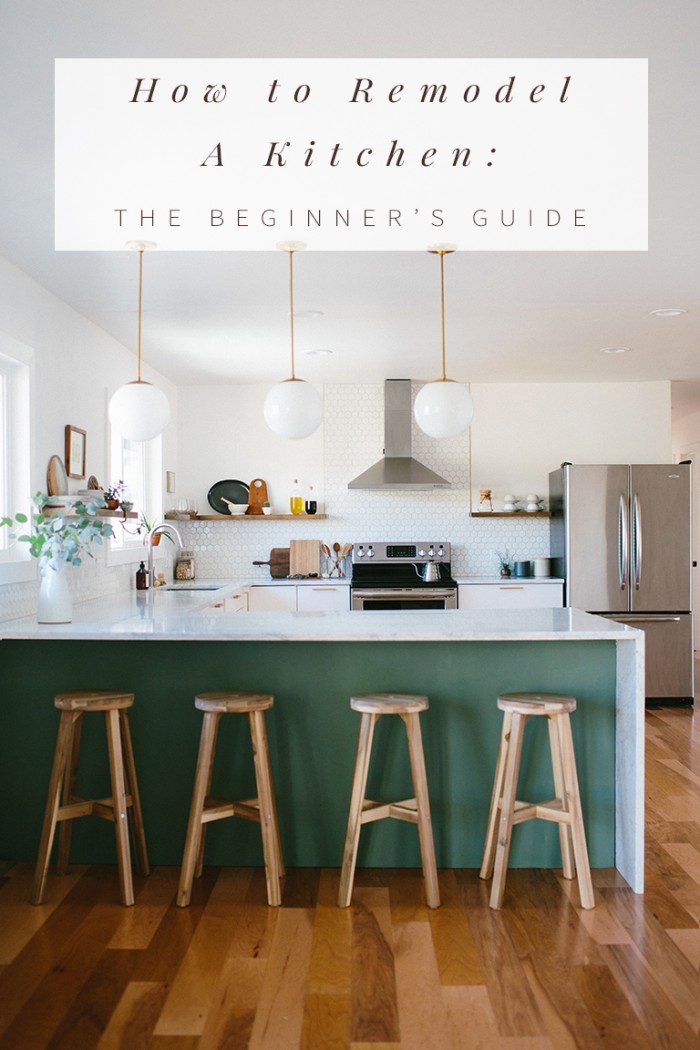
By Anna Smith of Annabode + Co.
If you’ve never done it before, a kitchen remodel can be extremely daunting. Where does one even begin? Who do you go to for help? But most of all, how can you make sure it will be both beautiful and affordable?
As my husband and I just completed our own kitchen remodel, I wanted to share my process in the hopes that it’ll guide you through what can be a messy and expensive journey with as much knowledge and confidence as possible. If you’re quaking in your boots about starting such a huge project yourself—don’t worry! If we can do it, so can you.
What follows is a beginner’s guide to remodeling your kitchen—10 steps broken down into helpful tips, to help you get the job done:
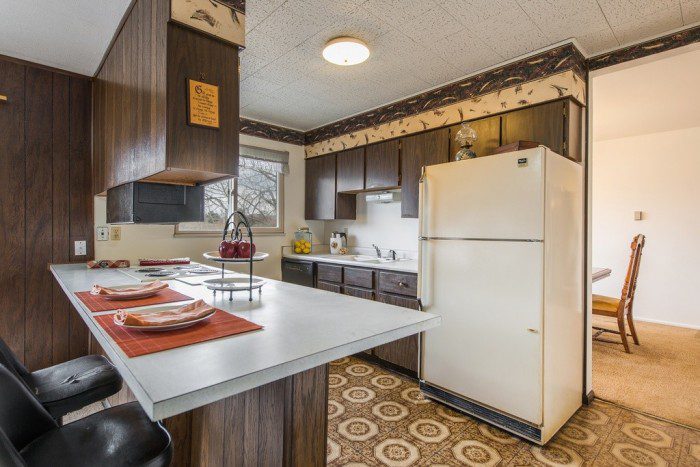
Our kitchen before, in all its 1970s glory.
1. Set a budget.
This is priority numero uno. Before you can do anything you have to know how much you can comfortably spend, as it will affect every consequent decision you make. Don’t worry if your budget is small—plenty can be done with little, though you may need to tweak your expectations. (For example, if new cabinetry isn’t in your budget, consider painting your existing ones.)
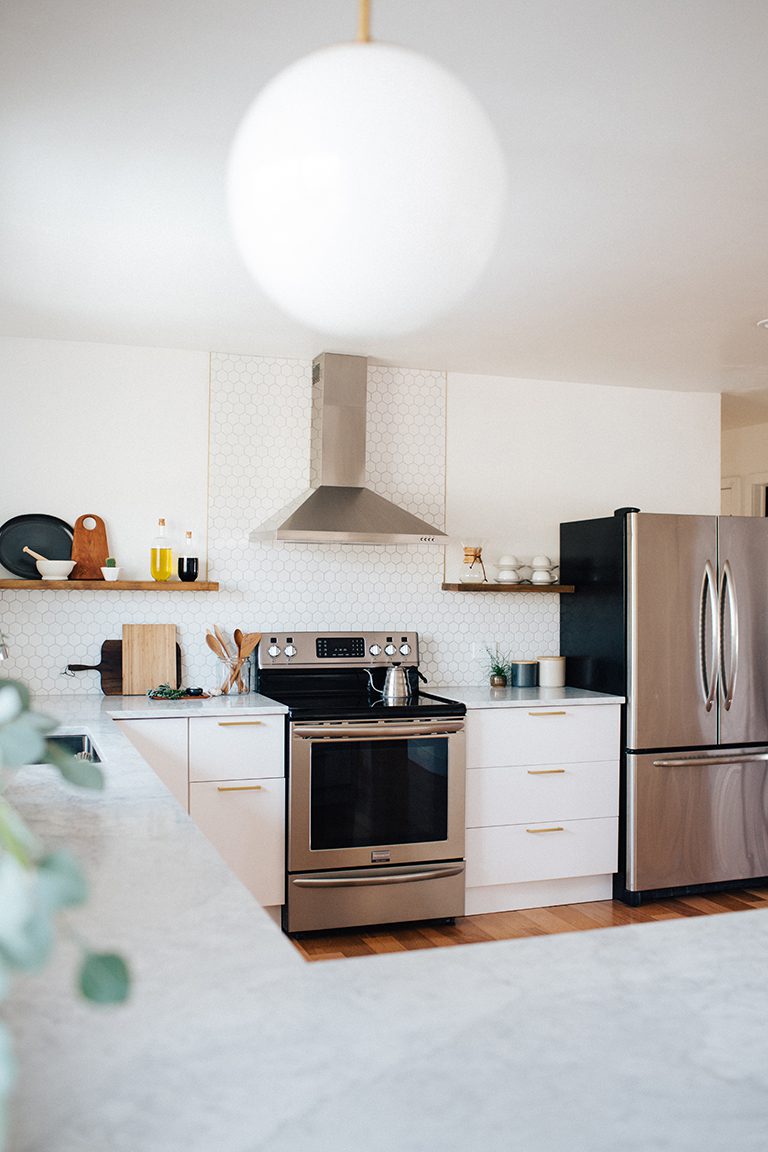
My husband and I did not set an exact amount specifically for the kitchen, as we had one larger budget to renovate all areas of our fixer-upper. The kitchen was the most important to us (and in need of the greatest amount of help) so instead we chose to relegate 20-30% of our total budget to it, and see where that took us.
Keep track of every expense in an excel document and check it periodically to make sure you stay on track. And don’t forget to save 10% of your budget for the unexpected—I assure you we had some unpleasant and costly surprises.
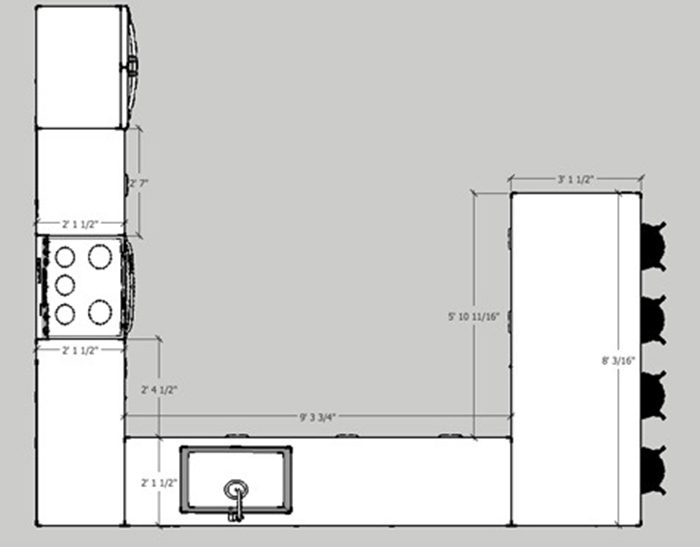
Using design software to plan your kitchen will help a ton when you need exact measurements—this is the floor plan of our kitchen from above, in SketchUp.
2. Plan the layout and lighting.
Planning the design of your kitchen will probably be the most time-consuming, (and most important) part of your remodel. It’s important to know what resources are available to you as well as what considerations need to be taken into account.
If, like us, you’re planning on using Ikea cabinetry, Ikea offers a free design tool called the 3D Kitchen Planner. It is perhaps the most frustrating piece of software you will ever use, but it’s unfortunately a necessary evil as you’ll need it to place your order. You can technically use it from home, but I was never able to without pulling my hair out. So, I highly recommend going to your local Ikea kitchen department to plan your design—for some reason it runs more smoothly in the store (could this be a secret ploy Ikea? If so, it’s genius).
If you’re sourcing your cabinetry from another company, they most likely offer their own planning tool or service so be sure to ask.
If you don’t mind a bit of a learning curve, SketchUp is amazing for planning anything in your home—and it’s completely free! All you need is a tape measure, your computer, and an internet connection to completely and accurately design any room in your house. You can download Ikea’s line of cabinets directly into your model and play around with the layout as much as you like, or create your own. This is how I designed our kitchen, and what I use for all my clients’ projects—big and small.
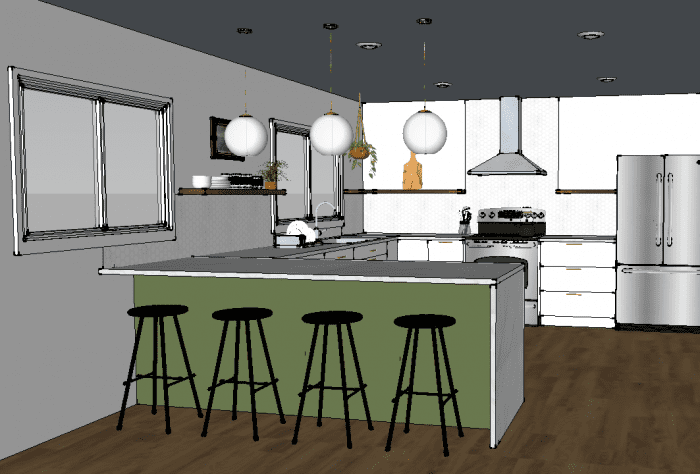
I designed the layout of our kitchen using a combination of the Ikea 3D Planner and SketchUp.
It’s also incredibly important when designing your kitchen to know what will be going into it—after all, it’s basically a glorified storage space. Write down everything you’ll be keeping in the kitchen and make sure there’s a designated spot for each category—don’t forget space for things like Tupperware, trash and recycling, tinfoil/saran wrap/Ziploc bags, dishtowels, small appliances etc. In addition, make sure the location of each makes functional sense. For instance, storage for baking pans, pots, oils, spices, etc. should be adjacent to the range while dishes and silverware should be near the dishwasher. Now is the time to make sure everything in your kitchen has it’s own place!
It can be helpful to tape your new layout onto the floor and practice walking through it as if you were prepping a meal. Are the fridge and stove a convenient distance from the sink? If two people are cooking, are you constantly running into each other? Do you have enough counter area next to the sink and stove for food prep? Etc.
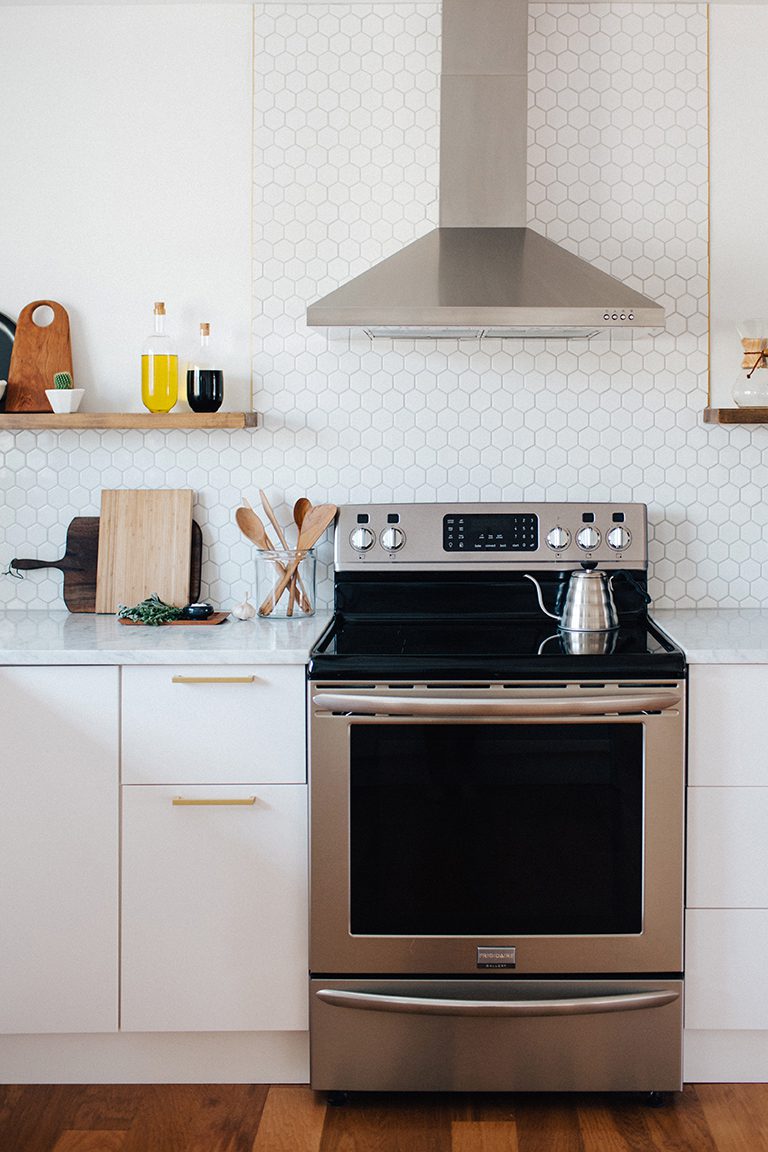
A lot of kitchen designers and suppliers will press upon you the importance of the “work triangle”, which is the belief that the most functional kitchen layouts create a triangle between the major appliances. I for one think this should be more of a guideline than a rule, as I totally ignored it in our kitchen and couldn’t be happier (if we’re being nitpicky, I have the skinniest work triangle ever). Certainly it’s something to keep in mind.
Finally, make sure the kitchen will be evenly and entirely lit. Pendant lights are excellent over islands and sinks but you’ll need to light the rest of the kitchen as well. For a cleaner look, recessed lighting will likely be your best option—I fought it tooth and nail in our kitchen, but thankfully gave in in the end. I have very strong opinions about can lights…but I’ll save that for another day.
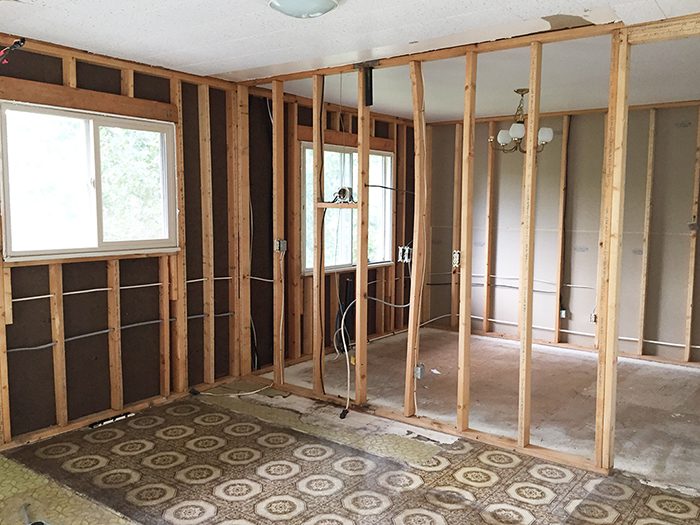
The kitchen (and dining room) after we had found asbestos and had it abated by a pro.
3. Test for harmful substances.
If you live in an older home, I can’t stress how important this step is! If you’re planning on disturbing any existing surfaces you’ll need to test for the two biggest culprits: asbestos and lead. Asbestos can be found in what seems like a million places but you should definitely test for it in linoleum, flooring adhesives, popcorn ceilings, and ceiling tiles.
We found asbestos in our drywall, which is basically the worst thing ever because it covers every surface of our house. (Read more about testing for asbestos). You may be able to test yourself, or you may need to hire a professional testing company.
Lead is typically found in paint, and can be tested quickly and easily with a lead test kit.

We were lucky that our friends pitched in—my husband and his buddy handled the insulation after the wall was removed and the new electrical went in.
4. Decide who will be doing the work.
Ah, the big question if you’re an avid DIYer. Who will you hire, and what jobs will you do yourself? It’s important to be objective about your skills and how important quality is to you. Only you can judge whether or not you have the skill or strength to do a project, and let’s not forget about safety!
We did all the labor in our remodel ourselves with the exception of the electricity and plumbing—although looking back we probably could have taken care of the latter. The pro of DIYing a kitchen remodel is obviously that you save quite a bit of money, with the con being you will most certainly sacrifice quality in at least some areas.
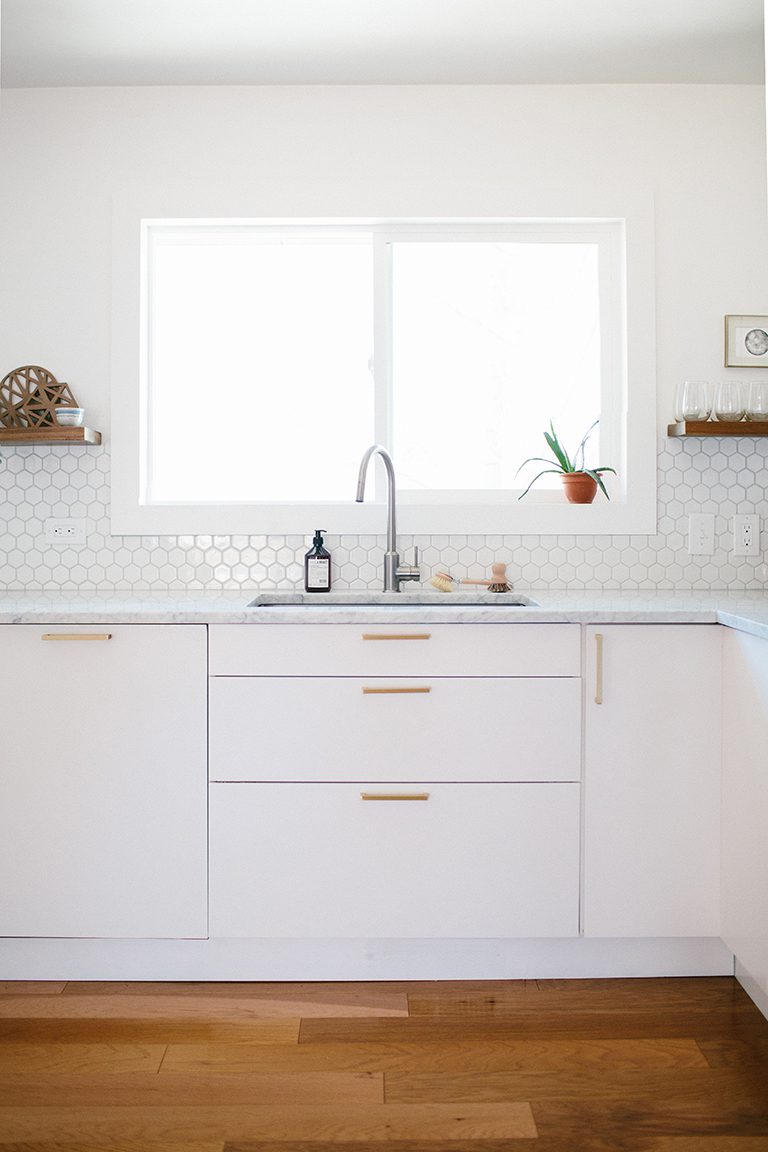
Some tasks that I think almost anyone can handle are tiling a backsplash, laying a floor, installing cabinetry, and hooking up appliances—though you’ll need to do your research. If you don’t have experience with a certain job and you don’t think you can learn, it’s perfectly fine to call a pro. For that, I highly recommend using Thumbtack because it’s free and almost instantaneous. I use it for all our home projects that are beyond our expertise!
Another thing to note, and a reason you might need to hire a pro after all, is that if you are doing major work in an older home that requires a permit, there’s a good chance you’ll have to bring it up to code in ways you can’t anticipate. We took out a building permit to remove the wall between the old kitchen and dining room, and then had to install seven hard-wired smoke detectors throughout our entire house because of it (save that 10% people!).
5. Get the appropriate permits from your local town office.
If you’re removing any walls you’ll need a building permit, otherwise you may need an electrical or plumbing permit (or both) if you are installing any new fixtures.

My hubby, hanging drywall. I assure you I worked too – but someone had to take the photos!
6. If you plan to DIY, do your research.
There is such a wealth of information on the internet—run Google searches, watch YouTube videos, ask your neighbors, and take a look on Pinterest. You’ll be amazed at the kinds of tutorials you can find! If I’m tackling something new, I try to have as much information as possible—and so should you.
7. Decide where to splurge and where to save.
This is a biggie if you want to stay within your budget. Think of what is most important to you—is it a high-end range? Gorgeous stone countertops? Custom cabinetry? Then think of what is less important, and how you can save on that. Look on Craigslist for appliances, tile, sinks, faucets, and hardware. You can also get great discounts on appliances at scratch and dent and used appliance stores. You can even find discounted labor— in our last house we hired someone from CL to come and teach us how to drywall. (Read more about using Craigslist to find awesome scores.)
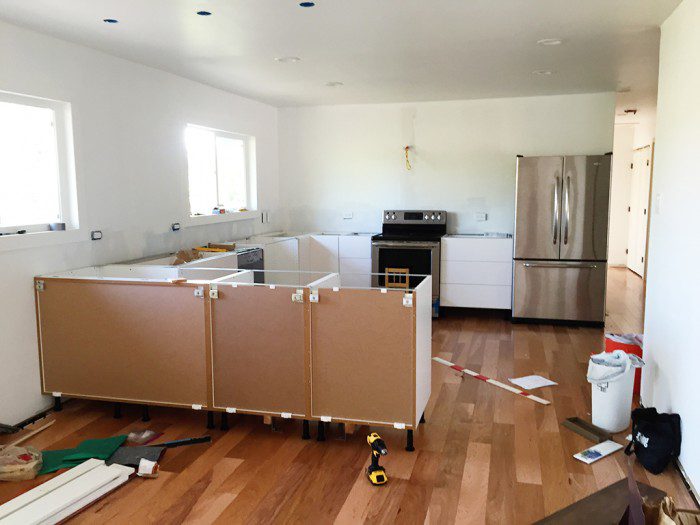
We found our fridge on Craigslist and purchased the cheapest cabinets Ikea carries to save money.
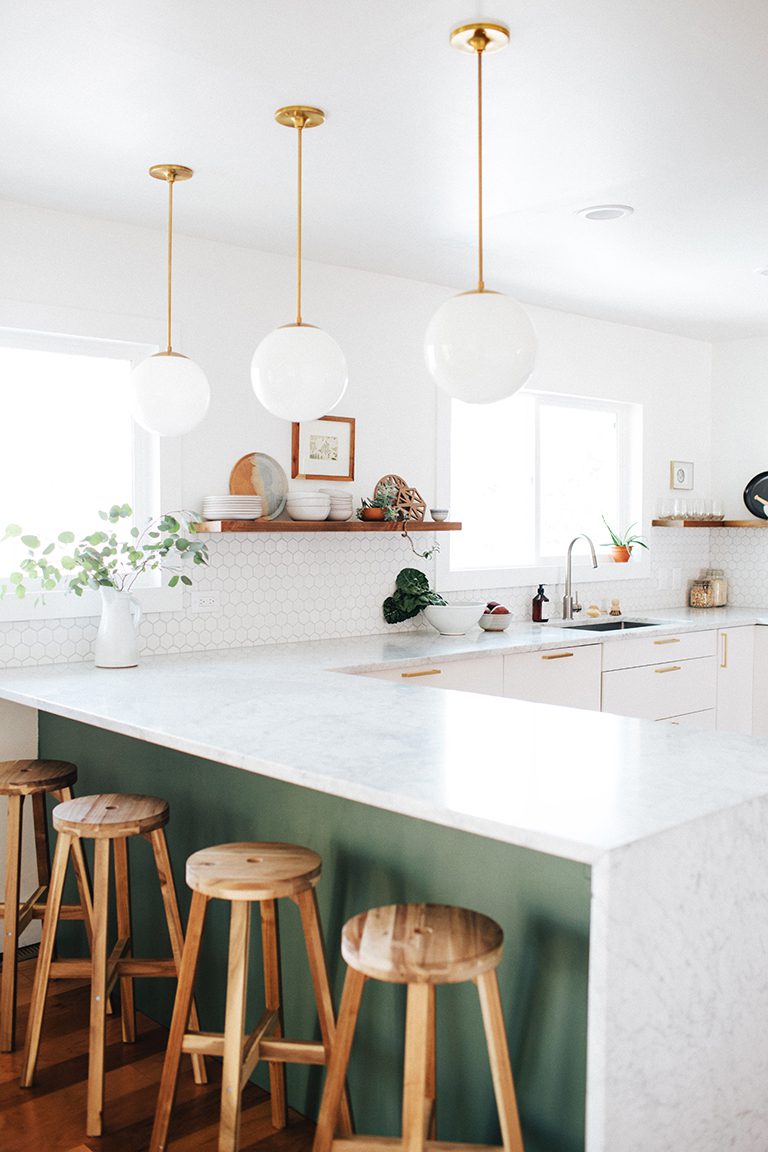
We knew we wanted an induction range, a higher end dishwasher, quality hardware, and marble countertops. I took those as a given, and then cut costs everywhere else. We used the most inexpensive white cabinetry Ikea had to offer, found our refrigerator on Craigslist, repurposed shelves from our old house into open shelving, bought our backsplash tile with a coupon on Wayfair, and found our sink on Amazon.
8. Source your finishes according to your budget.
Now for the fun part! There are endless options for kitchen finishes out there—if you’re using Ikea cabinets, check out Semi-handmade for gorgeous door options. Wayfair has a tremendous amount of home improvement products as does Amazon.
9. Create a timeline.
If you are managing other pros or doing it yourself, you will need a clear timeline for the entire project. Write out what needs to be accomplished first, second, third, etc. and keep it handy (you will forget!).

Finally, we can cook again!
10. Hire your team, purchase your products, and get it done!
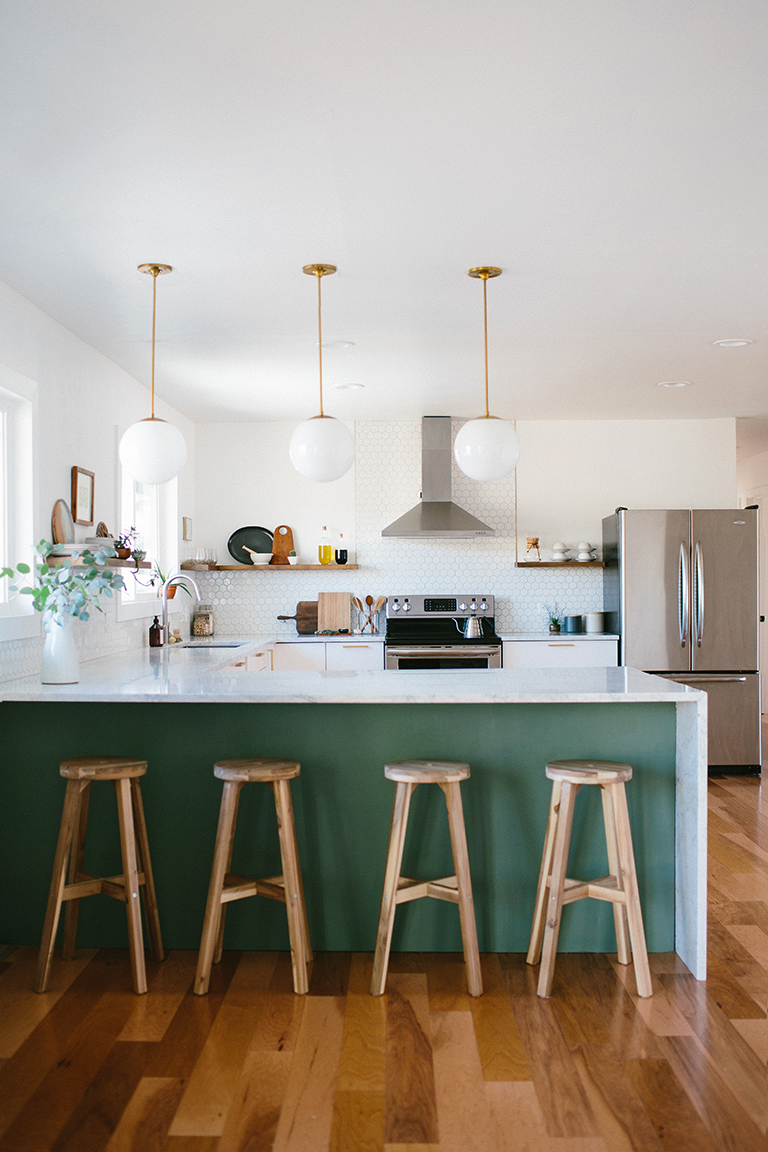
It will always take longer than you think, but don’t be discouraged. In the end that gorgeous, functional kitchen will be yours! I can’t tell you how relieved we are not to be cooking off a hot plate in our basement anymore…I mean, look at this picture. We’re so happy!
Photography by Anna Smith and Chandler Kim.
Thank you, Anna!
Anna Smith wants to live in a world where good design is accessible and affordable for everyone. An interior designer based in Denver, Colorado, she creates modern homes for clients across the country through her firm Annabode + Co. When not buried in swatches and throw pillows, you can find her elbow-deep in renovations at her own fixer-upper. Find out more about working with Anna at Annabode.com.
P.S. More home decorating ideas including The 10 Coolest Mid-Century Ikea Hacks and my office shelves, made from the Ikea Stolmen closet system.




















46 Comments