
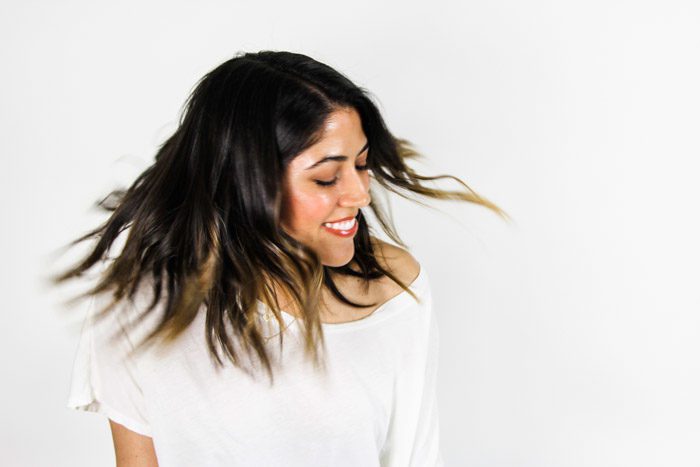
Every time I run into my friend Vanessa, she looks amazing. Her bright, friendly smile has a lot to do with it, of course, but I wanted to know how she does her hair. Vanessa writes a fashion and lifestyle blog, Babesicle, and I asked her if she’d be willing to contribute some style and beauty content—starting with a visit to the salon so the hairdresser could explain to me how to get those messy waves just right. She assured me that no professional experience is required and promised to make a tutorial her first post. Thank you, Vanessa!
Beachy, cool girl waves never stop looking fresh, regardless of whether you’re beachside in the midst of summer or land-locked in the dead of winter. They have an unfussy, undone quality since they’re loose and textured, and lend a pretty, yet slightly gritty vibe to any outfit. And they only take ten minutes!
Cool girl waves have become the go-to look for lob (long bob) cuts like mine (although mine’s a super lob as it’s a bit grown-out). It’s easily my favorite style to wear and it’s sooo quick and easy! I kind of can’t believe how quick it is every time I do it. It’s really just three steps, plus setting/texturizing with some product, and then you’re done! Here’s how…
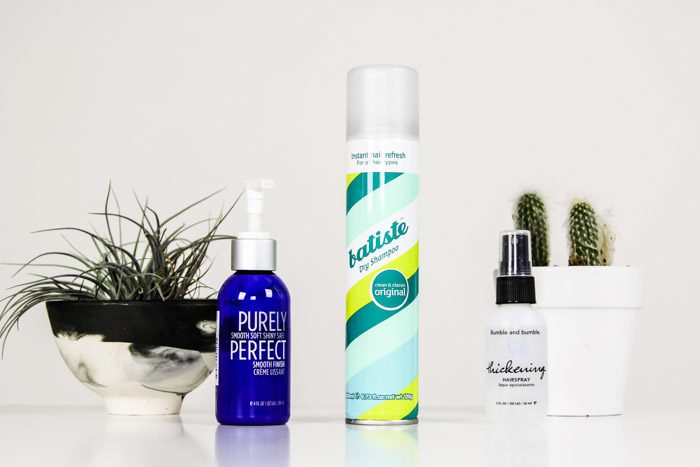
The Gear!
Some people swear that a “good” curling iron (Tourmaline, Ceramic, Ionic, expensive, etc.) is key, and I’m sure that’s true to an extent, but I actually fell in love with this inexpensive little tapered wand by Conair (1/2-inch to 1-inch)! As for products, I use a primer, a finishing spray, and also finish with a dry shampoo for texture. For the primer, I use Purely Perfect Smooth Finish. It preps the hair—adds some shine and protects it from heat. Once I’m done with the curls, I spray Batiste Dry Shampoo on my roots to add some lift and loosen up the whole look. Lastly, I spritz in some Bumble and Bumble Thickening Spray for light hold and texture. (I also love Bumble and Bumble Thickening Dryspun Finish for even more texture and more of a matte look).
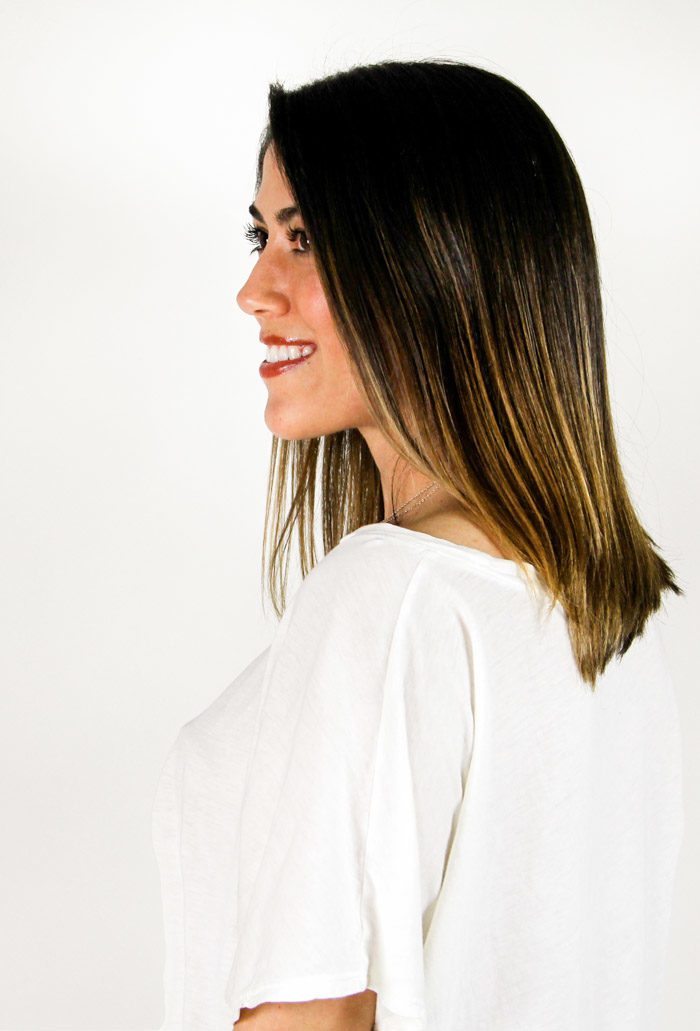
Prep
I like to prep by starting out with straight, blown-out hair. For this demo, I actually prepped it with a straightening iron, but you really don’t have to go that far. Just a quick blow out will do, so your ends are nice and straight.
The Three Step Approach
You’re going to curl the bottom, middle, and top layers of your hair—each in alternating directions so the curls are mixed up and have messy dimension.
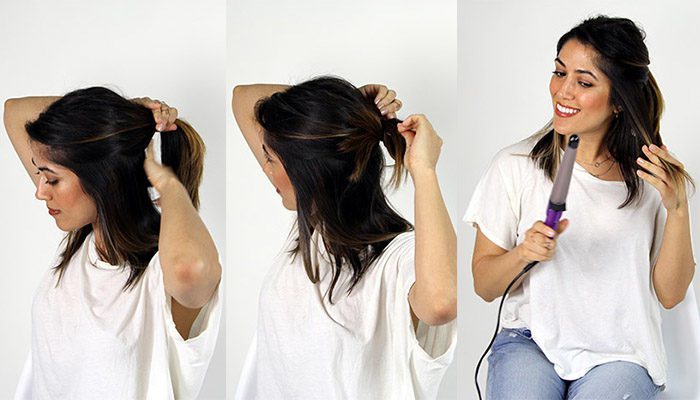
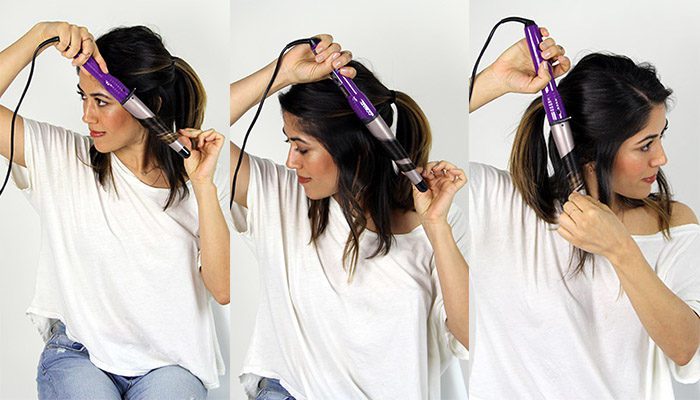
Step 1*
Separate and tie up or pin back the top two-thirds of your hair, leaving down a thin bottom layer. You’re going to curl this layer away from your face. Hold the tapered end downward and always curl vertically, leaving out the ends (about an inch). Aim to wrap the hair around only twice so it gets more of a bend and less of a tight spiral curl.
*If you have a shorter lob, you may be able to skip this step, as these little hairs might be too short. But since mine is longer, I like to style this layer.
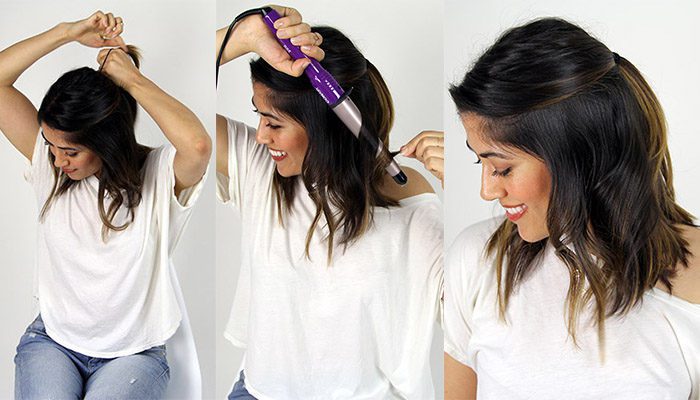
Step 2
Let the middle layer of your hair down, leaving just the very top layer up. You’re going to curl the middle layer toward your face, remembering to leave out the ends of your hair. Um yeah, that’s it for this step. Told you it was easy!
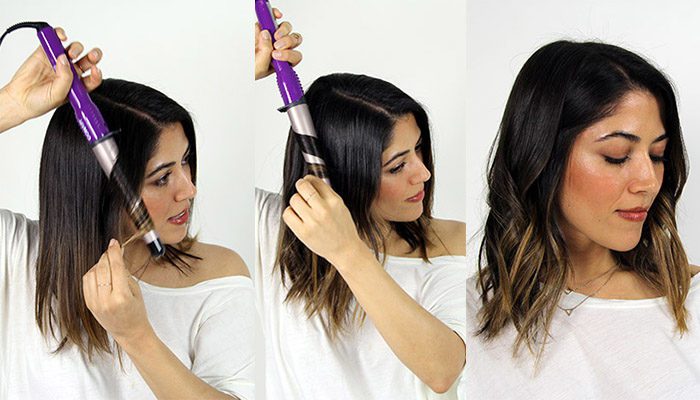
Step 3
Let the top layer down and part however you’d like. (I part mine sort of on the side on account of a very aggressive cowlick.) Curl this layer away from your face. Actually, I like to mix up the direction on this layer. The face-framing pieces always get curled away from my face, but just behind the ear, I like to add in a few that go toward it, so that the top layer gets some more dimension and doesn’t form into one big unit. Gotta keep ‘em guessing!
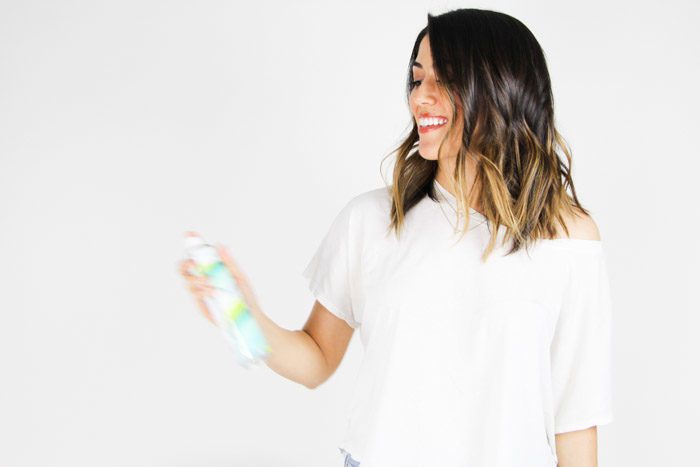
Apply Product for Texture
Grab your dry shampoo and shake it up.
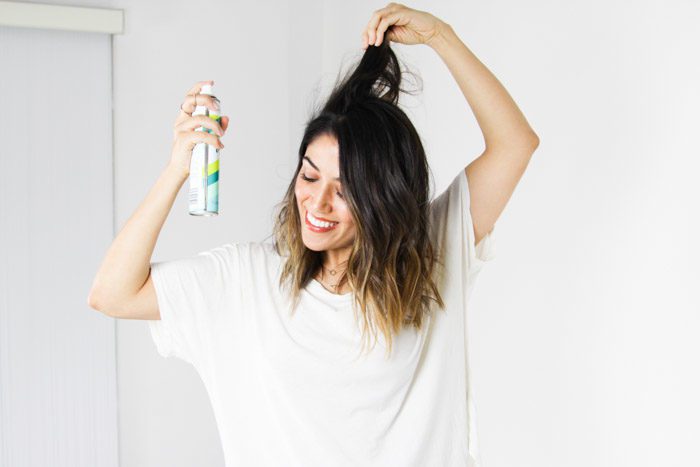
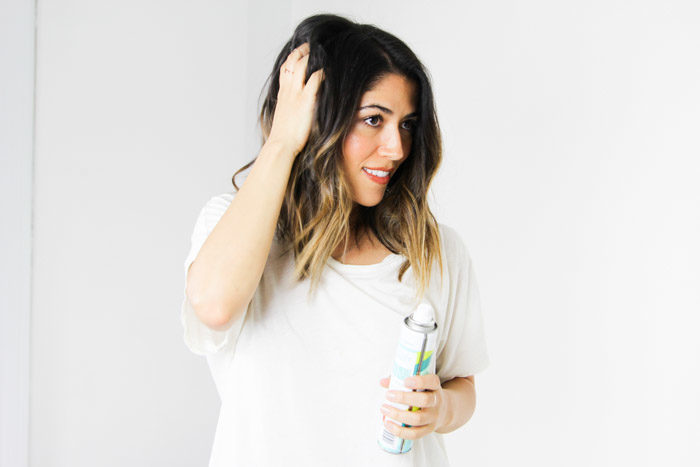
Spray dry shampoo directly to roots. Rub it in and zhoozh to create some volume.
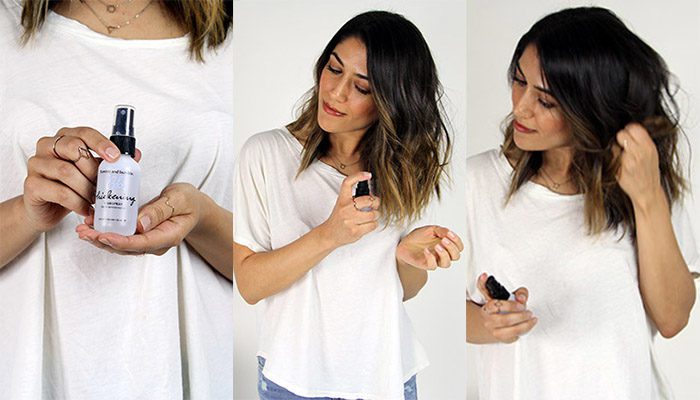
Take your thickening/light hold spray and spritz lightly all over. Piece out the ends, scrunch with your hands, make it messy!
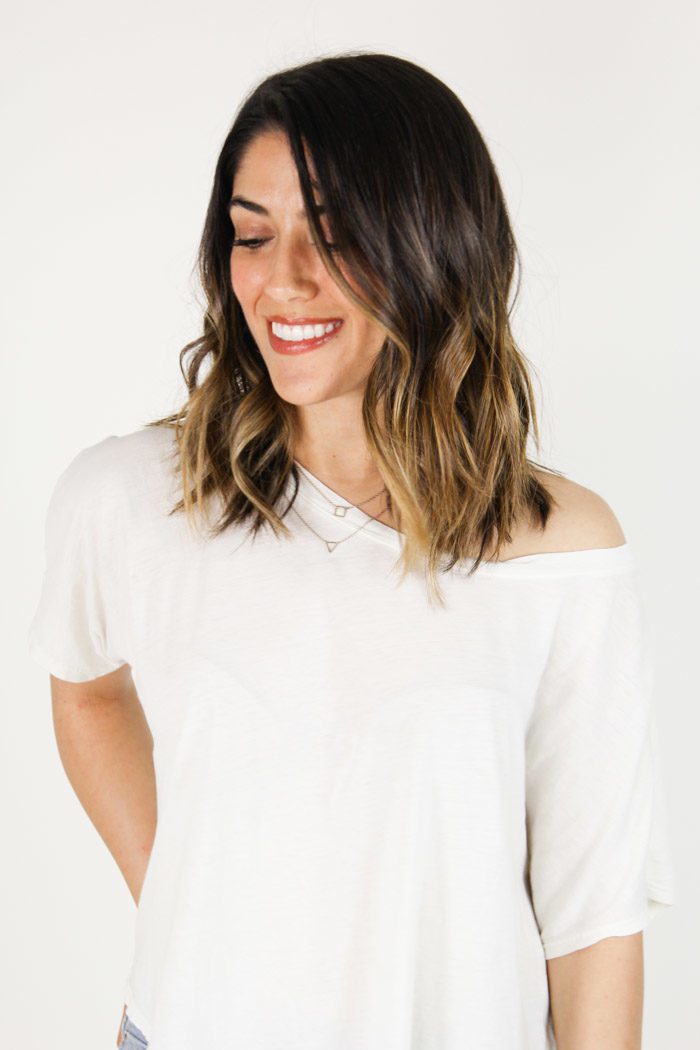
That’s it! Slide into that buttery leather jacket and hit the town, or into your swim suit and hit the beach! These versatile waves add laid-back charm that works anywhere.
Thank you, Vanessa! I’ve got a wand on its way to give it a try!
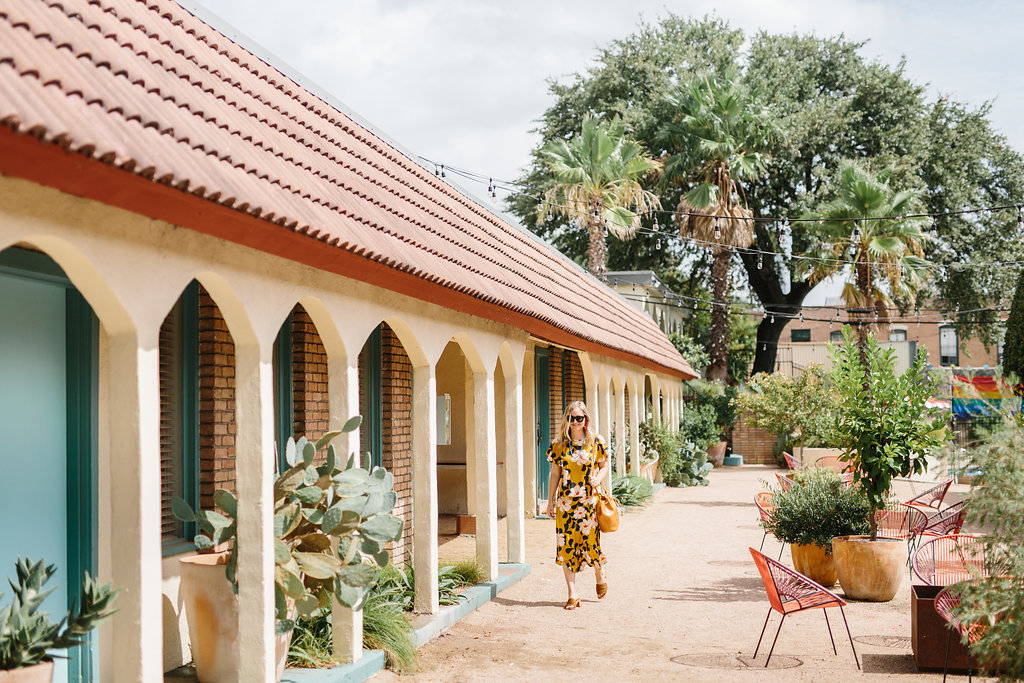
Vanessa lives in Downtown Sacramento with her boyfriend and their dog, Oscar. She writes about fashion and lifestyle on her blog, Babesicle, where you’ll find a mix of eclectic influences that make for a partly edgy, partly boho take on California style. She enjoys curating everything from blush pink Pinterest boards to the perfect electropop playlist. When Vanessa isn’t blogging, she’s working full-time as a social media specialist at an ad agency, and when she’s not working, she’s dancing. Always dancing.
You can find her all over social media under the name babesicle: Instagram, Twitter, Facebook, Pinterest, and Snapchat under babe-sicle.
P.S. Trimming (and tolerating) bangs and tips for using dry shampoo.
[Top photo by Susan Yee En Pointe Photography; All others by Haley Titus of Colour Me Classic]










4 Comments