I’m excited to introduce you to a new contributor that you’ll see on here from time to time! Anna is a talented designer and DIYer who believes in creating a home that’s beautiful and affordable. I’ve loved everything I’ve seen her do, so I’ve asked if I could share some of her projects and invite her perspective on Hither & Thither. Today she’s sharing a project from her site, Annabode, and next week she’ll be back with something original! Welcome, Anna—so pleased you’re here.
As I was staring at the jungle of our dresser the other day, I decided I needed to check my egregious clutter habit and tame my jewelry once and for all! An old cigar box my dad gave me was conveniently positioned amongst the various odds and ends. Problem and solution all in the space of five minutes!
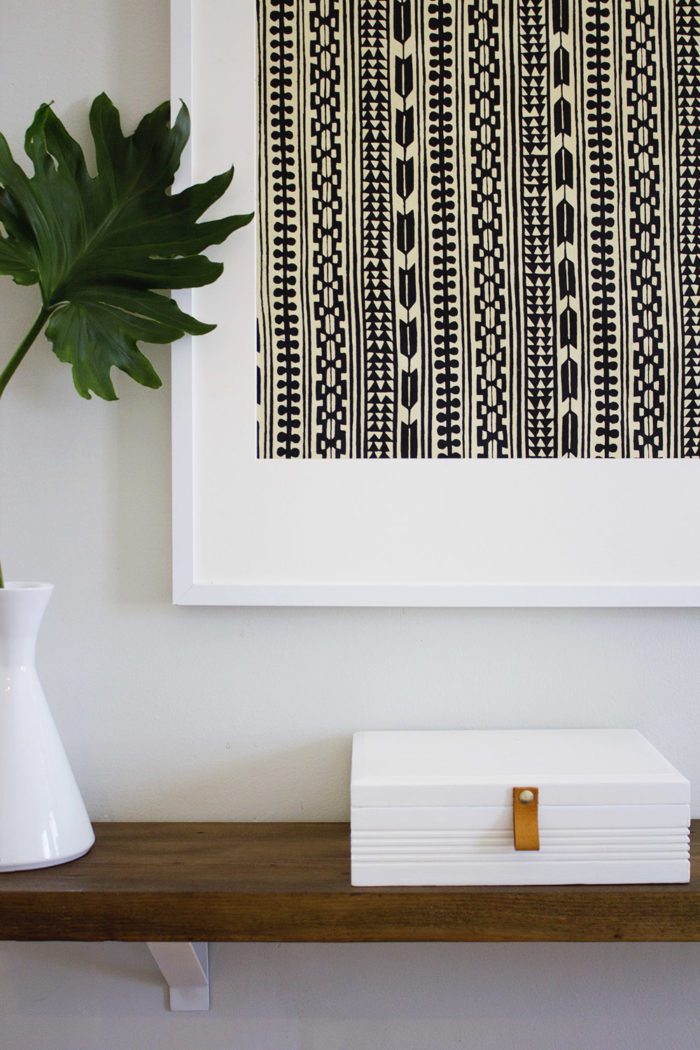
And so, I give you: the DIY jewelry box—from a cigar box! I’m really loving the marbled paper, leather, and brass details. You can make this in an afternoon and use any kind of smallish wooden box you have kickin’ around.
YOU NEED:
- Cigar box*
- Spackle or wood putty
- Fine sandpaper (say…220 grit)
- 2 paint brushes, one medium & one small
- White high-gloss paint (any kind)
- 9 foam cylinders–I found mine at Michaels
- Hot glue gun
- 9 x 3″ piece of leather
- Ruler
- X-acto Knife
- Mod Podge
- Marbled paper
- Craft wood—I used two pieces, 0.25 x 9.5 x 3″
- Brass thumb tack
*Ed. note: check sources like Etsy for vintage cigar boxes or use an unfinished wood craft box.
HOW TO:
First, wipe down the cigar box with a damp rag and remove any hardware. Lightly sand to remove any grime, and wipe again. Fill any holes with spackle or wood putty and let dry completely. Then, paint the craft wood as well as the entire box inside and out with the white paint. If you don’t do this, the paper will look dark and icky after you Mod Podge it! So paint it, and let dry.
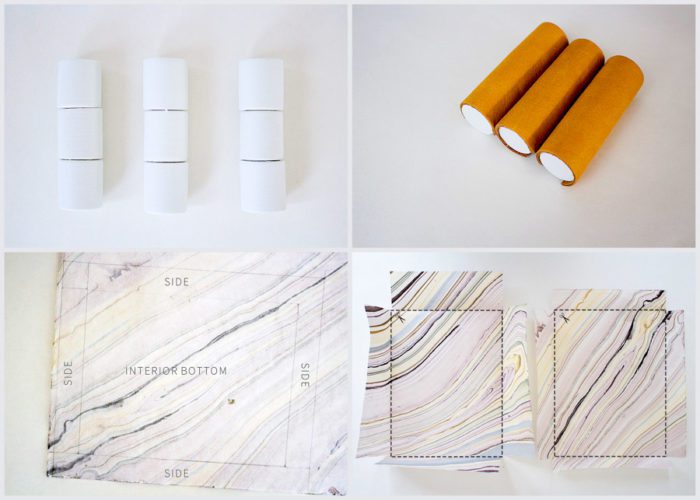
Meanwhile, take out the foam cylinders and the hot glue gun. Glue three end-to-end, and repeat until you have three little marshmallow snowmen. Try not to sing Frozen songs.
With the ruler and X-acto knife, cut a strip of leather that is about 3/4″ wide and set aside. Take the remaining leather and cut into three equal strips, then use the hot glue gun to wrap each of the strips around the snowmen.
When the cigar box is dry, take the interior measurements with your ruler. On the reverse of the marbled paper, create two corresponding rectangles–one for the lid, one for the base–according to the measurements of the bottom of each plus the sides. This will ensure that the pattern continues onto the sides of the box.
Cut out each of the pieces (you should have 10 in all).
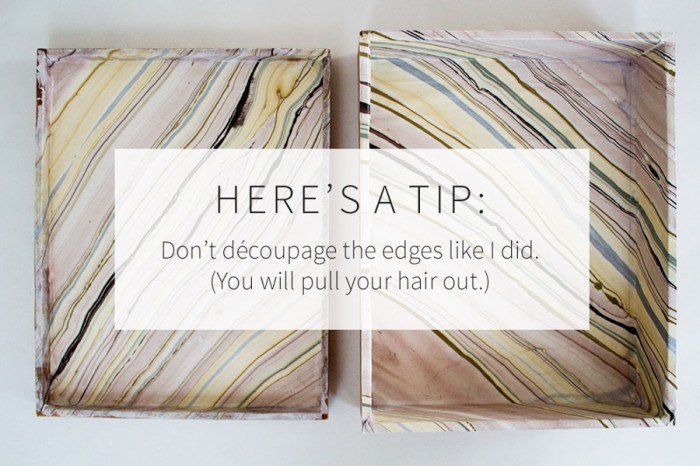
Then, follow the directions on the Mod Podge bottle and découpage each piece of paper to its corresponding surface. Let dry completely. Don’t worry about decoupaging the paper over the edges of the box as I did above!
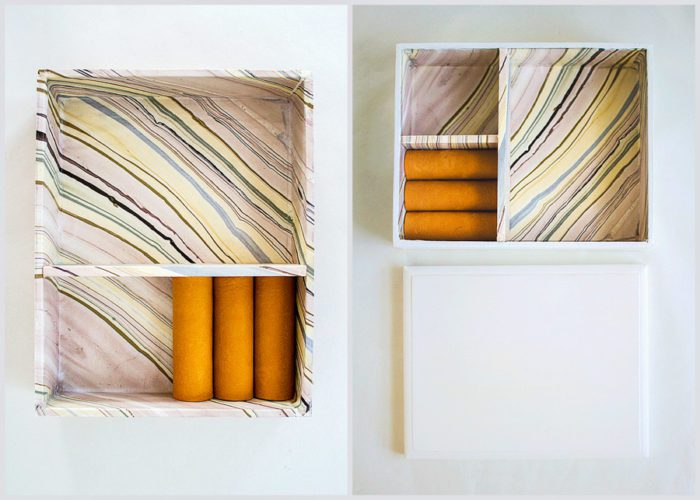
Hot glue the leather pieces into one corner of the box. Measure and cut one piece of painted craft wood to create a divider. Mod Podge some marbled paper onto that piece, and hot glue it into place.
Repeat to create a second, smaller divider.
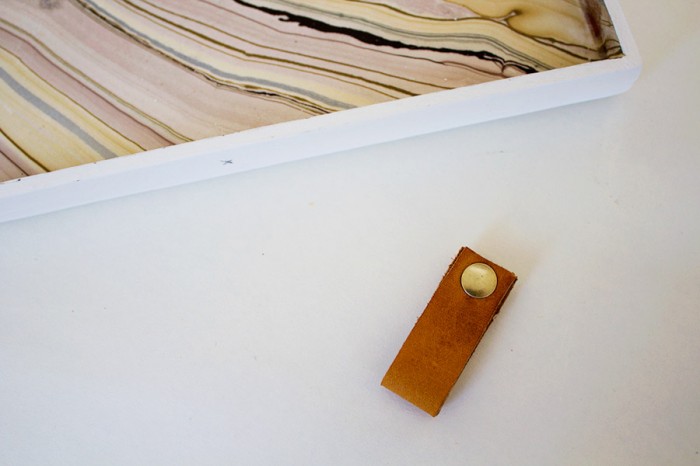
Now mark the top of the box lid in the center where your handle will go, and take out the extra strip of leather and thumb tack. Fold the leather in half to create a handle, securing the two ends with hot glue. Then, take the thumb tack and push it through the center at the top.
Add a tiny amount of hot glue to the spoke and back of the leather, and push the entire thing into the box top. The final result should look like this:
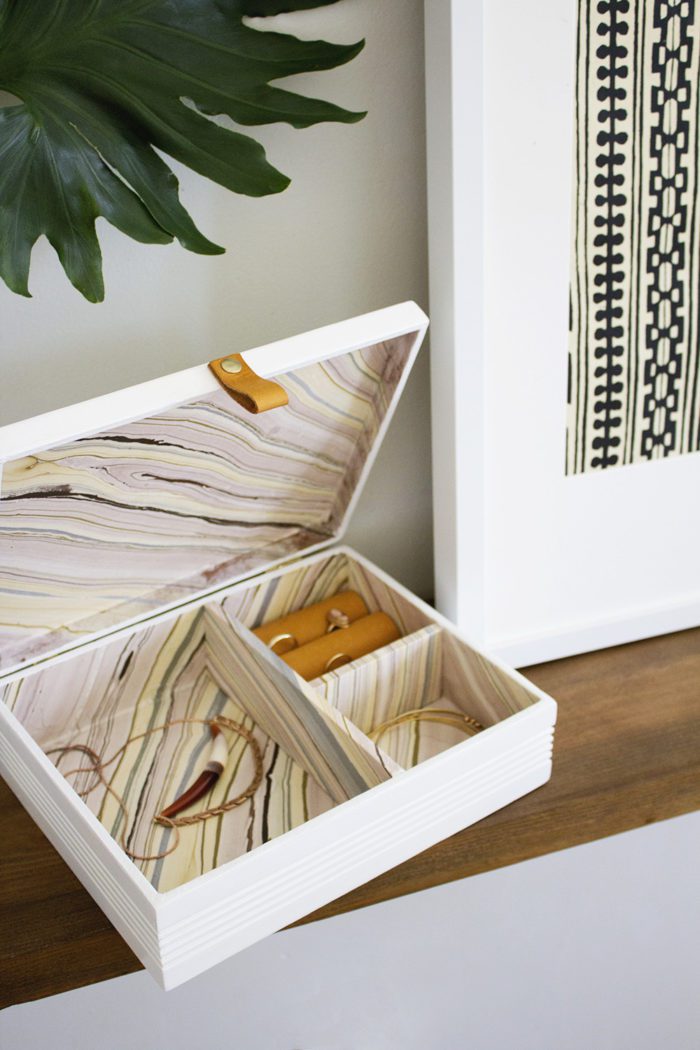
Now reattach any hinges and fill that baby with some pretty jewelry!
Thank you again, Anna! It looks gorgeous!
Anna lives in Washington, DC with her fiancé Austin and their four-year-old son, Clinton (and they’re about to move to Denver). An interior designer by day and Craigslist-comber by night, she isn’t afraid of wielding a hammer and shares her tips for do-it-yourself decorating on her blog, Annabode.
P.S. Découpaged paper weights from travel mementos.

















6 Comments