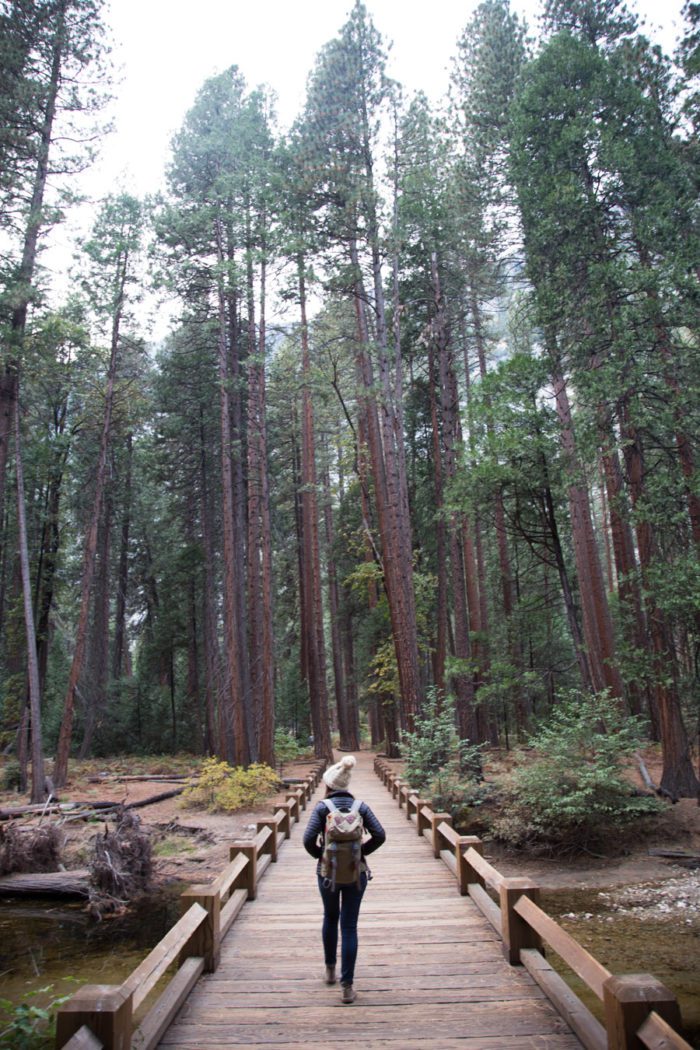
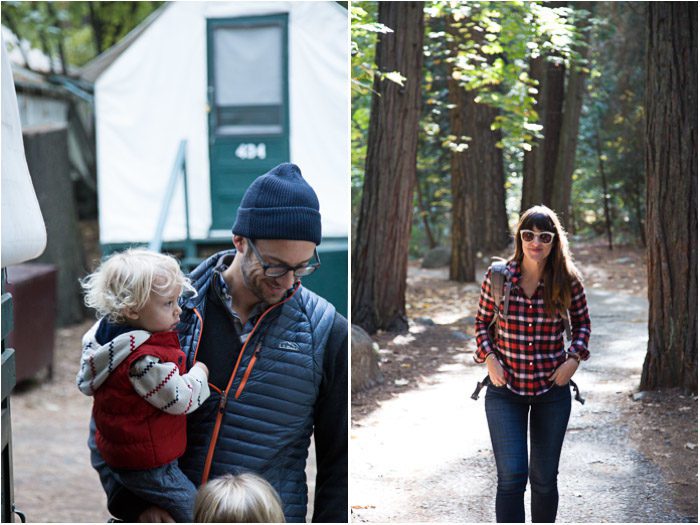
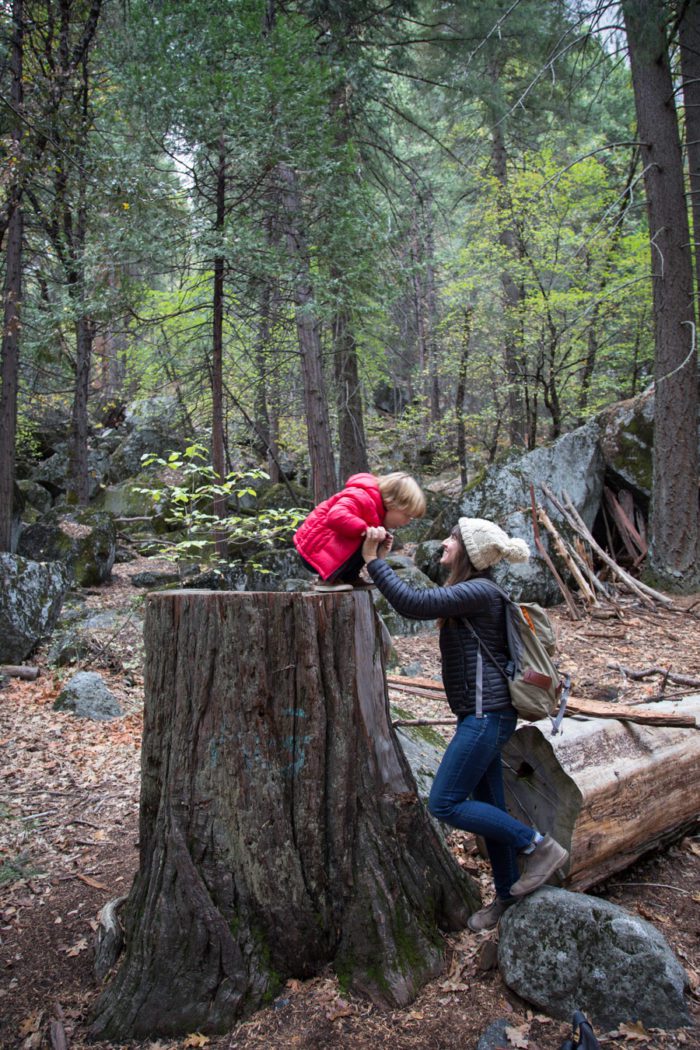
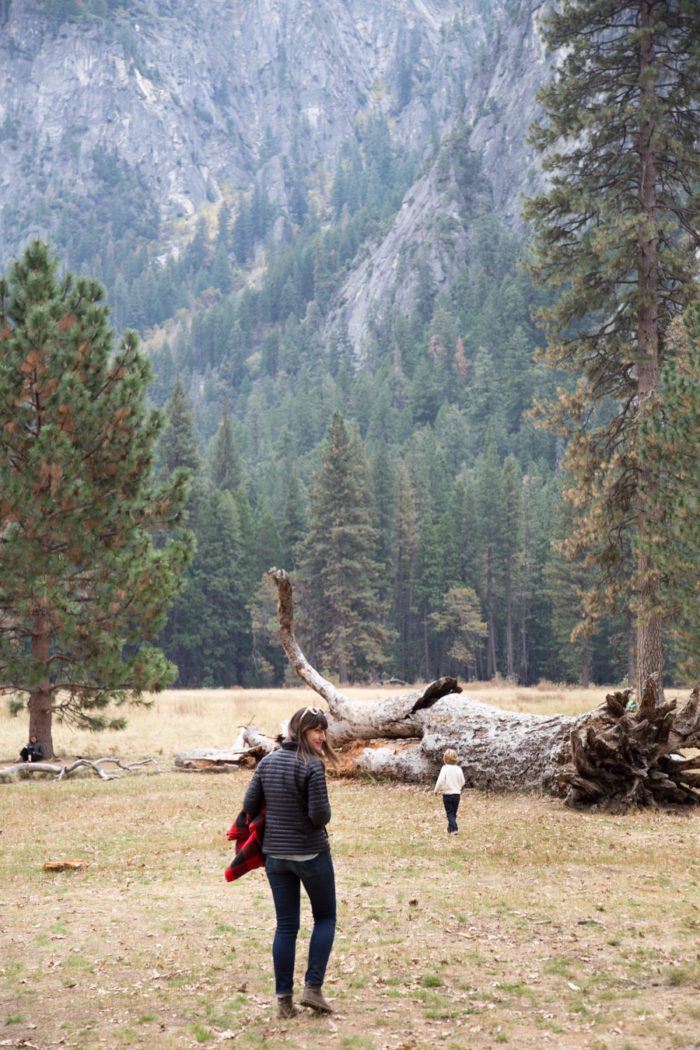
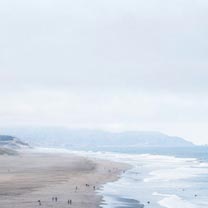
We love Yosemite this time of year. Every other year or so, we try to spend at least one weekend in the valley after the summer crowds have thinned. We keep saying we’re going to explore more of the park (it spans over 1100 miles)—getting into the high Sierra—or make plans to see it in the winter, when it’s blanketed in white; but it’s hard to resist the siren song of the valley floor. I actually love that it’s becoming a bit familiar: I’m much more content to slow down and explore at the kids’ pace. And, having stayed there before, I felt confident driving in late at night to stay in the tent cabins in Curry Village.
The temperatures were starting to dip while we were there—mornings were just cold enough to see your breath—so I was happy we brought layers. They’re actually getting some snow now! It’s a magical place to spend family time outdoors.
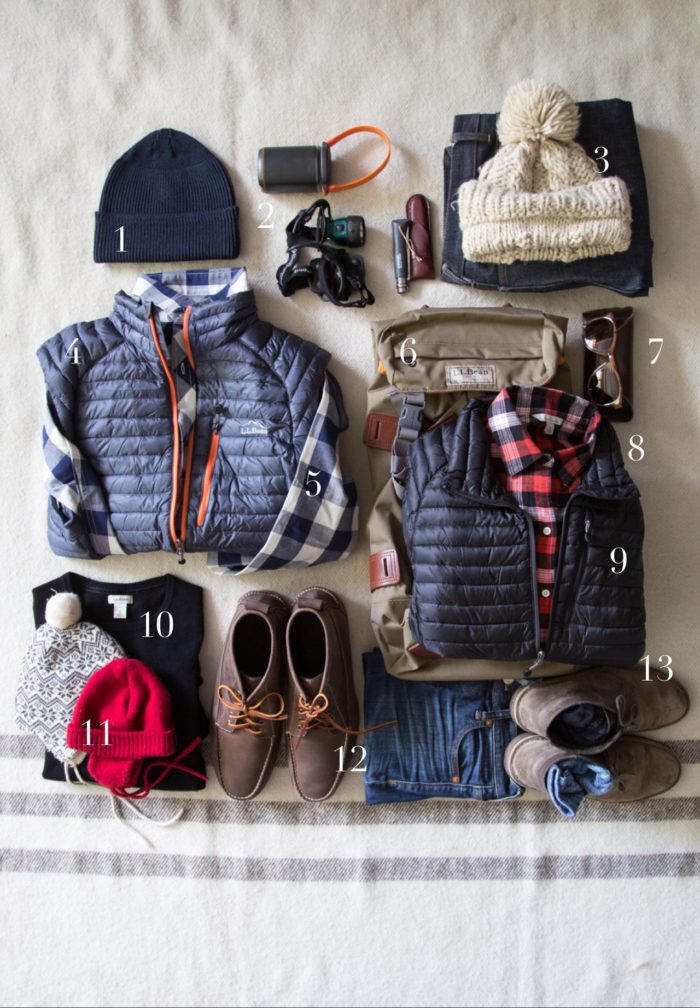
L.L. Bean had sent us some winter gear to try, and the trip turned out to be great practice for the cold-weather trips we have coming up in the next few months (we’re just going to be adding in a snowball making kit).
Here are a few favorite pictures and some thoughts on packing for an easy-going weekend in Yosemite…
We knew we wouldn’t be doing any serious climbing (or camping, for that matter), so we went with jeans for everyone. Hudson has a knack for wearing out the knees in anything softer before you’ve even cut the tags.
In the mornings, we’d layer on warm hats and jackets—lightweight down that would easily pack away on our walk. Mine is this ultralight down sweater.
I’ve been wearing it around town since we got back and love the fitted look (I sized down), but it still has plenty of pockets. I plan to just layer it under a shell when we’re in the snow.
Sidenote: I actually wrote about this one a while back as a great option for taking on cold airplanes. It’s weighs next to nothing (10 ounces) and packs into itself—one of the pockets—so it’s perfect for people like me who are always freezing when they fly.
Skyler wore hand-me downs from Hudson, which made me very nostalgic; and I packed a new cozy fisherman’s sweater for him. (I realize ivory cable-knit doesn’t seem a natural choice for an outdoorsy adventure, but these sweaters are really easy to wash—and they dry so fast. An all-time favorite. No doubt Skyler will be in it next time.)
We brought along a baby carrier and this compact stroller. We didn’t expect to bring the latter out—it’s not much use on most trails—but it turned out to be handy in the afternoon when we decided to meander the very accessible valley loop.
Flashlights, headlamp, and a pocket knife/wine key. I can’t overstate how nice a headlamp when you’re camping—or even setting up camp in a tent cabin.
Knit pom hat for me. This one was a gift. (Similar.)
Men’s down sweater vest . Aron always needs less to stay warm than I, so something on his core is usually ample. He’s actually been raving about how this one seems to repel dirty and sticky-little-finger marks.
Chukka boots. I always look at the men’s or kids’ sizes. (Here are more favorite styles of Chukkas.) And warm socks.
Not pictured, but also on our list:
Sleeping Bags
Camera—and camera phones and the various chargers required.
Binoculars
Baby Cot (though Skyler spent one night in bed with me).
Backpack carrier and stroller
Clothes for sleeping. (And some bear slippers to surprise the kids.)
Diapers, wipes, and those little trash-sacks for keeping them tied up until you’re off the trail.
Minimal toilettries. (I just assume we’ll skip the shower for two nights and bring a comb, toothbrush, and toothpaste. Maybe some dry-shampoo, too.)
Food—with snack cups and thermoses for milk and water, and an insulated bag with an ice pack. We brought milk, cheese, crackers, peanut butter, bananas, cheerios, fig bars, and apples. And then ate our meals at the restaurants.
Padlock. Anything scented—food, toilettries, etc.—must be kept in a bear locker. I always look forward to the video they play at reception of brown bears breaking into cars with food left overnight. But it’s serious: “a fed bear is a dead bear,” they say.
And a cozy blanket to spread out in the meadow to read Two Bear Cubs and look for climbers—just tiny specks—on the face of El Capitan.
More from our weekend in Yosemite, and our two nights at Camp Curry, tomorrow.
P.S. Until recently, Aron would always wear the same hat on every hiking trip. (Since high school!) Do you have any one thing you always bring with you on outdoor trips?
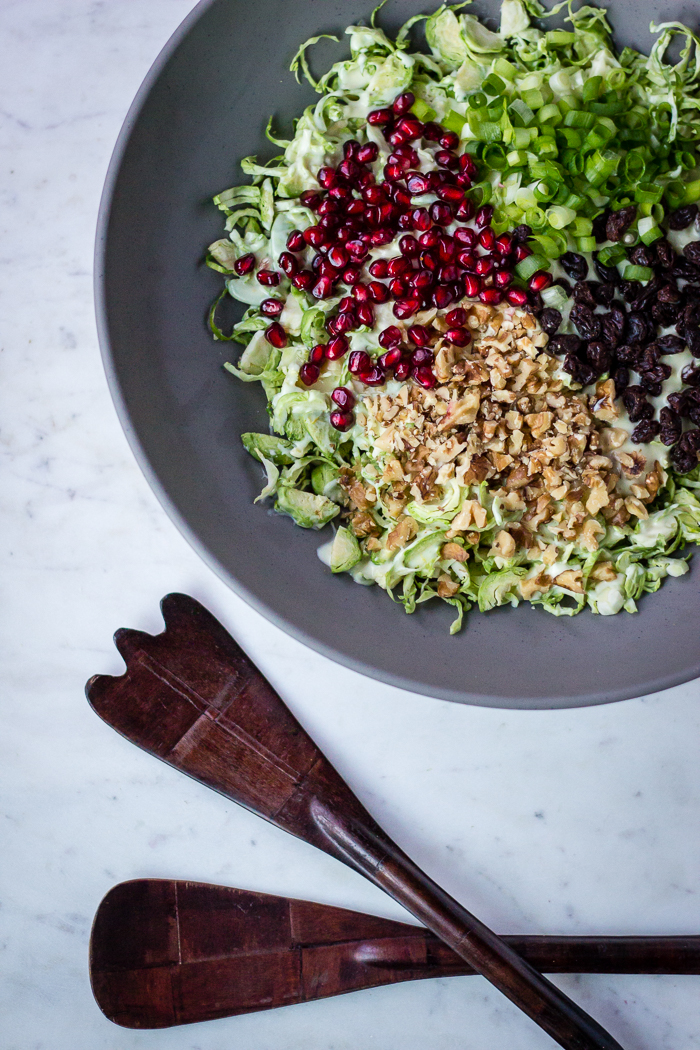
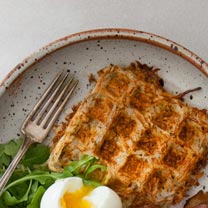
Shaved Brussels Sprouts Salad
by Bella of Ful-Filled
Brussels sprouts may be one of the most misunderstood vegetables of all time. It is really quite a shame. Prepared properly (not over-boiled) brussel sprouts are something you can look forward to enjoying every fall and winter. We only discovered our new-found love for brussels sprouts a few years ago, so we make sure to take full advantage of their season now. Whether we oven roast them or shave them raw into a salad, we find it hard to believe we went so long without them.
This shaved brussels sprouts salad is our favorite way to eat the vegetable raw. It is our take on a traditional Greek cabbage salad called “lahanosalata.” In Greece, eating seasonally is part of the culture—the markets only carry what grows locally—so, solely during cool weather will you find cool-weather vegetables. While traditionally made with cabbage, we have found that brussels sprouts are a great substitute that we have come to prefer in this salad (brussels sprouts are like mini cabbages after all).
In this beautiful Greek representation of fall and winter, raw shaved brussels sprouts are paired with pomegranate arils, raisins, walnuts, green onion, and a lemon-yogurt dressing. Light, refreshing, and slightly sweet, this shaved brussels sprouts salad is a seasonal celebration that will change your mind about (if not make you fall in love with) brussels sprouts.
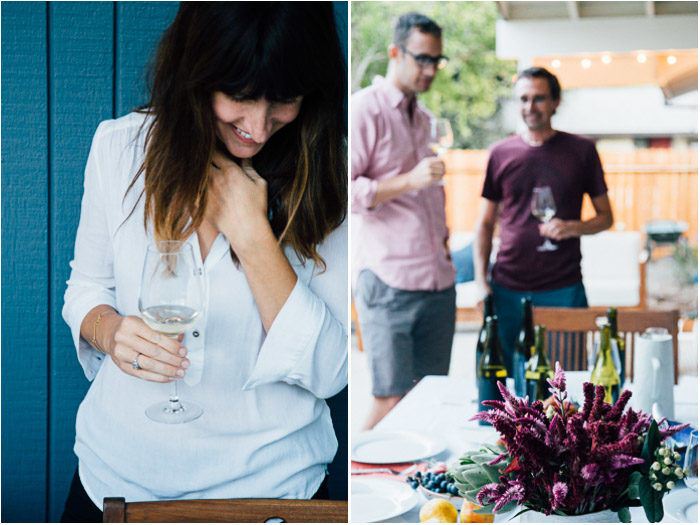
Last year, Aron and I joined with some friends to follow along with Eric Asimov’s Wine School articles in The New York Times. We would get together and pour a specific varietal over dinner and then compare notes. The idea was not so much to decide which was “the best” but rather to get one’s palate familiar with the characteristics of that wine. To be able to confidently order it at a restaurant and describe one’s preferences.
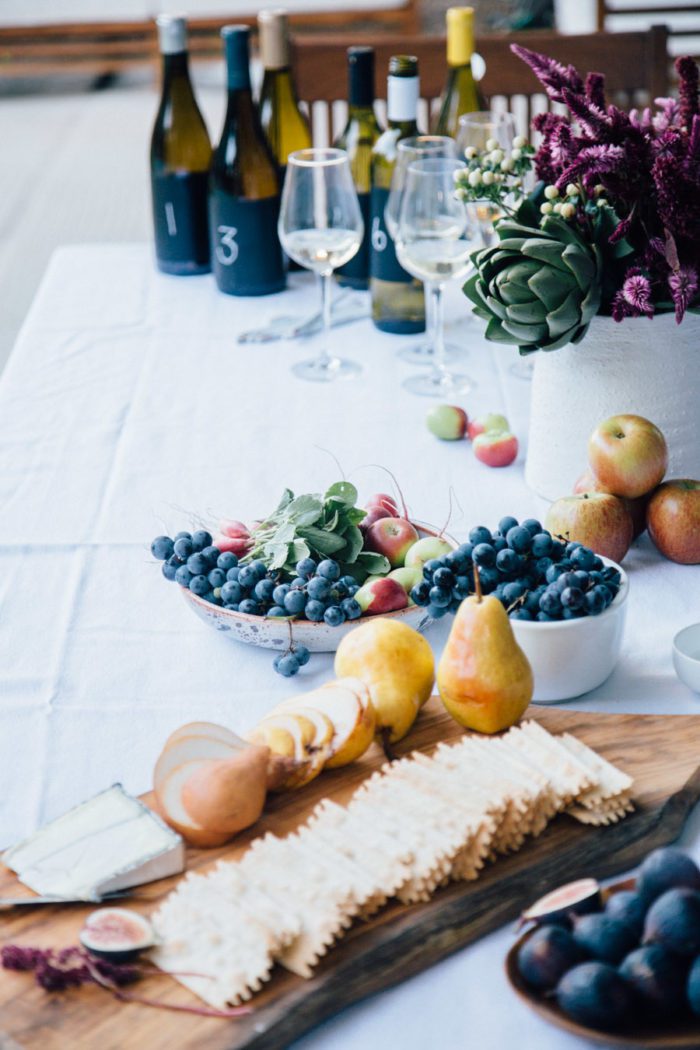
But this time we were going to be toasting with California Chardonnay—a category where people have really strong, divergent preferences about butter and oak and minerality. It’s also a category of wine that typically does well at the Thanksgiving table, so we decided to hold a more classic tasting party and decide which we’d be happy to serve.
The results were all over the place, which we took to prove: There’s no best. There’s only what you like.
And what I liked best was getting together with friends and having fun tasting.
Here are some tips if you’re interested in doing the same…
Chose a specific, limited range of wine at a wide range of price.
We all agreed that six wines was a good number for tasting. I think a group could go up to eight, but your nose and mouth do get fatigued. Personally, I liked limiting the varietal (the fewer variables the better), but I’d suggest at the least sticking to either red or white.
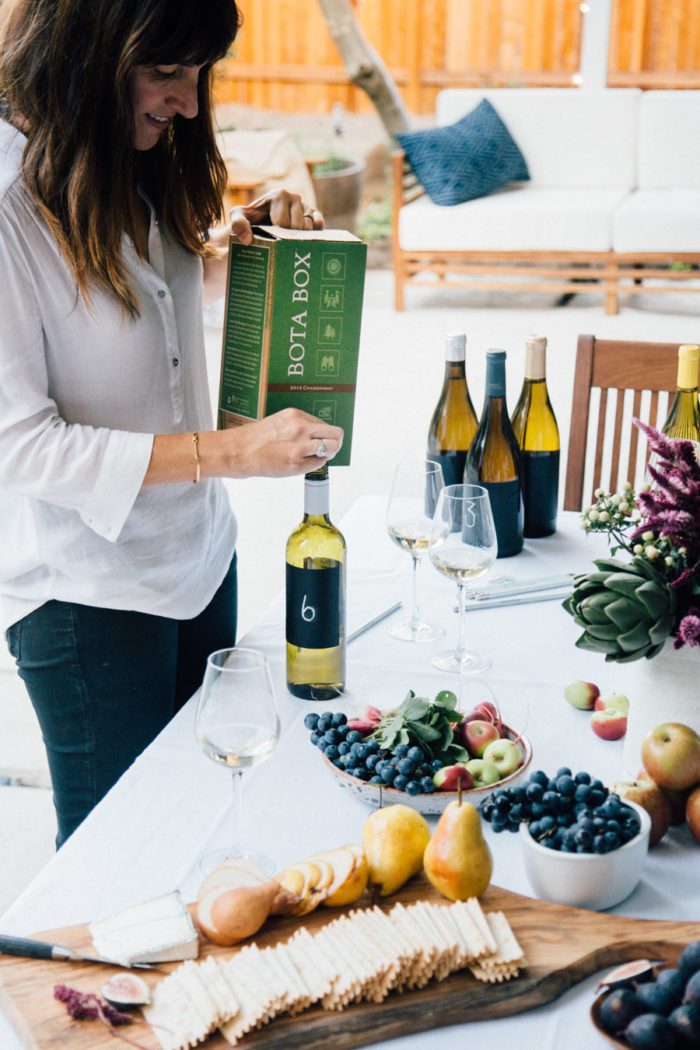
As for price, having a range of price points made the reveal all the more fun when a wine that costs four or five times less than the rest ends up at the top of someone’s list. I chose mostly bottles around the $15-20 range, threw in a couple that retail $30-40, one under-$5 bottle, and then decanted a 3L Bota Box 2013 Chardonnay (which is the equivalent of four 750ml bottles and retails for around $20).
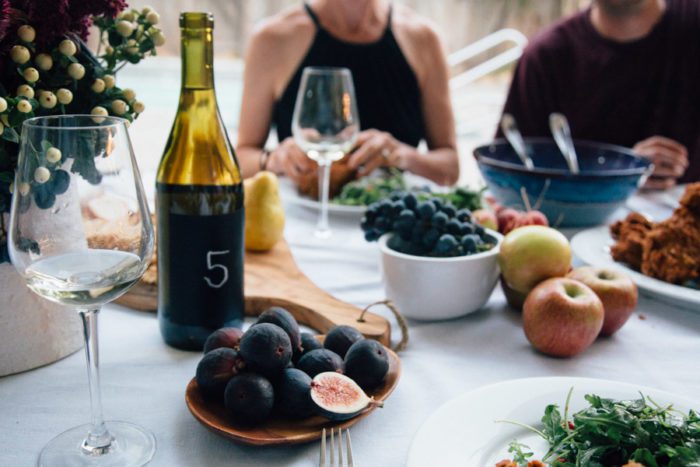
Hide the evidence.
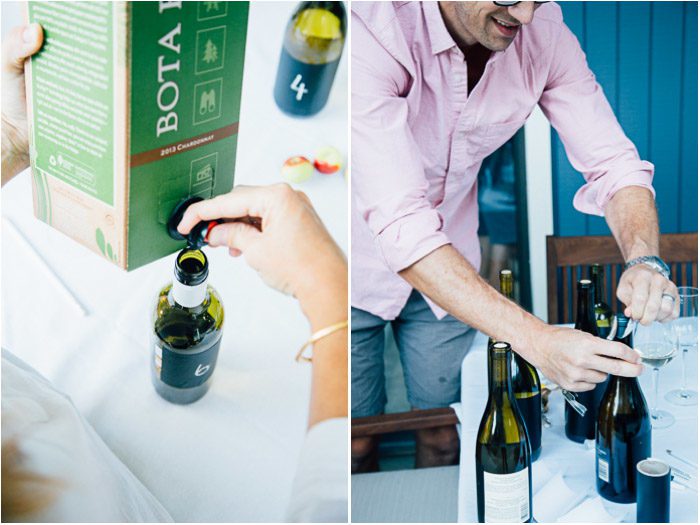
I realized later that the shape of the bottle I used for decanting the Bota Box would have given it away, but was glad no one noticed at the time. In general, different bottle shapes are specific to varietal.
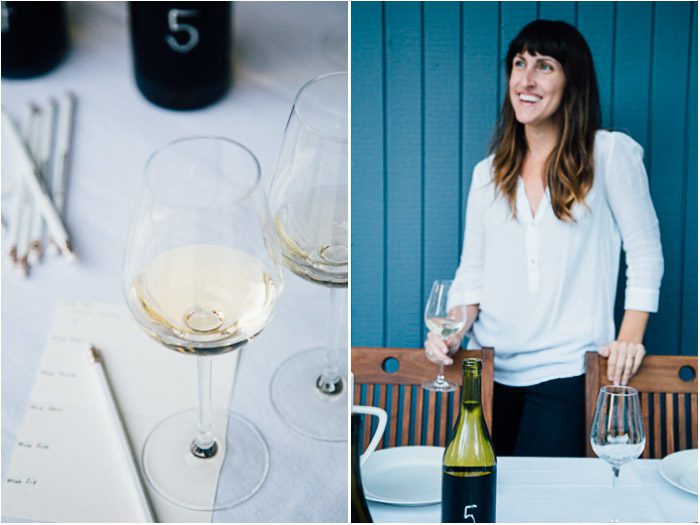
The other clues you’ll want to hide are the corks and the labels—even the foil ones up top. Brown bags are one answer, but I prefer chalkboard contact paper. It looks elegant, is easy to cut and apply. And it’s removable—key to the reveal.
Pour small.
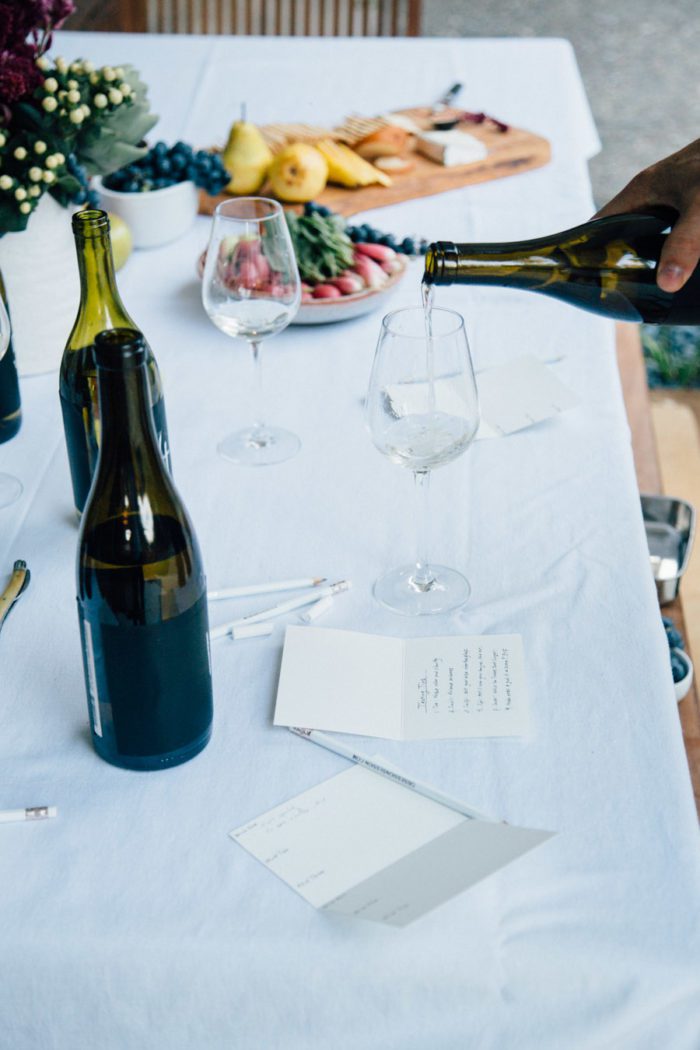
2-ounce pours are suggested. And it adds up quickly! If you’re not sure how this looks in your glass, test it ahead of time with some water and a measuring cup.
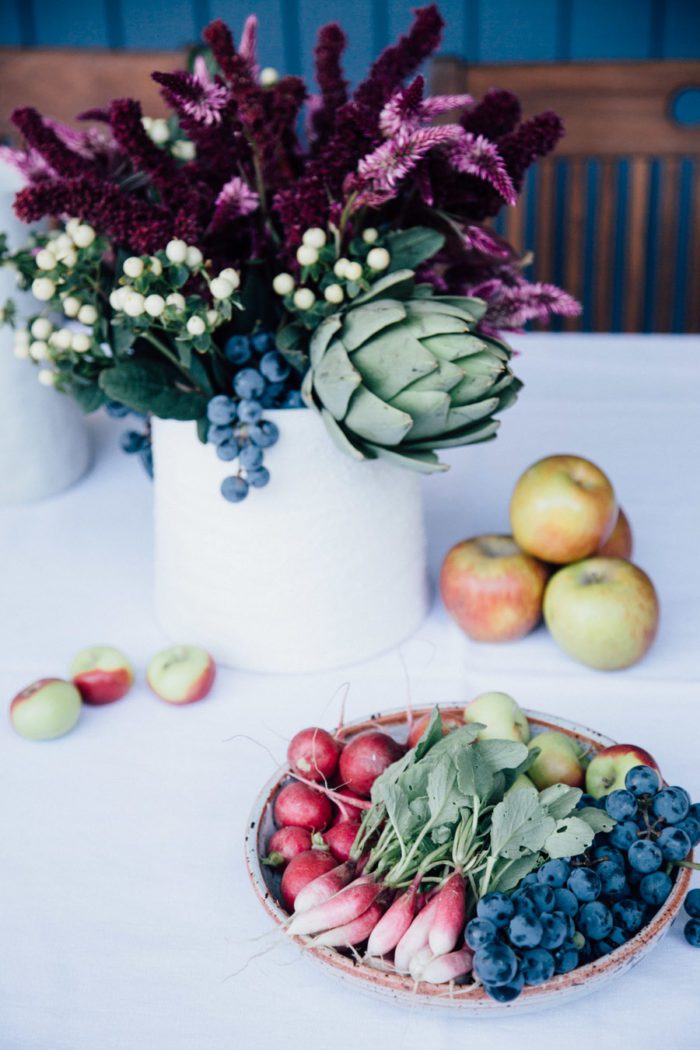
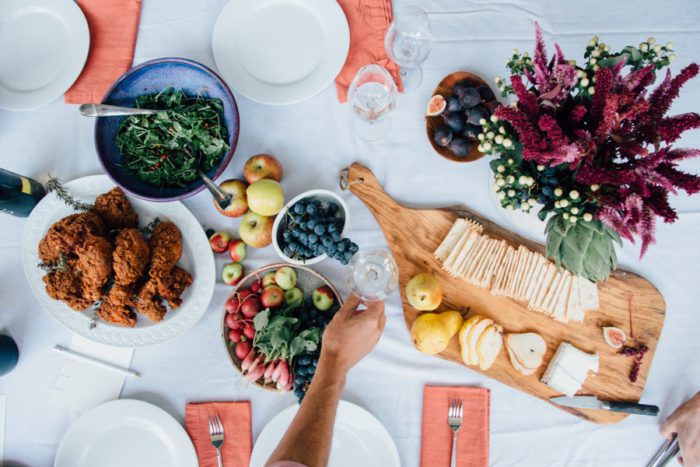
Set the scene.
A white table cloth can be good for seeing the color of the wine. Real glasses are preferable to plastic, something that allows you to swirl the wine gently.
In an ideal scenario, we’d each have a separate glass for each wine—to make it easier to go back-and-forth between them. But practically speaking, that’s hard to do on a large scale. Consider how you’ll keep each guest’s glass distinct.
Offer tips for tasting and a way to keep notes.
Set out pens or pencils and score cards. I also set out a list of tasting tips (and, just for fun, we pulled out the UC Davis wine aroma wheel). Tips tend to involve five S’s: See, Swirl, Sniff, Sip, and Savor.
See the color and clarity; swirl the wine to release its aroma; sniff several times; sip (and slurp, if you can); and savor, noticing how the flavor changes after you’ve swallowed.
Pair with food and water.
Bread and crackers are a given. But it’s nice to taste wine with food and see how it changes your appreciation. After all, we often drink wine at meals.
Our friend made the best fried chicken I’ve ever had—along with some apple donuts that deserved the same accolade and disappeared in a flash. Going to have to share that recipe, soon!
Enjoy! There are bound to be some fun surprises.
Have you been to a wine-tasting party? What would you add?
This post is sponsored by Bota Box, the nation’s leading eco-friendly wine producer of premium 3-liter varietals. Each package is printed on 90% post-consumer fiber and is 100% recyclable; Bota Boxes create 85% less landfill waste than traditional glass bottles. Bota Box wine stays fresh for 30 days or more after opening, and has received 49 Gold Medals and 21 Best Buy ratings from Wine Enthusiast Magazine. Thank you for your support!
Have you tried Bota Box? Which varietal do you like best? Bring one along on your next adventure and tag your instagram #GoAdventure and #GoBota.
P.S. I’ve had the pleasure of working with Bota Box throughout the year. Read more about the Bota Minis (we love them for picnics and day-hikes around Northern California) and see the adventure summit I took with the team in Big Sur.