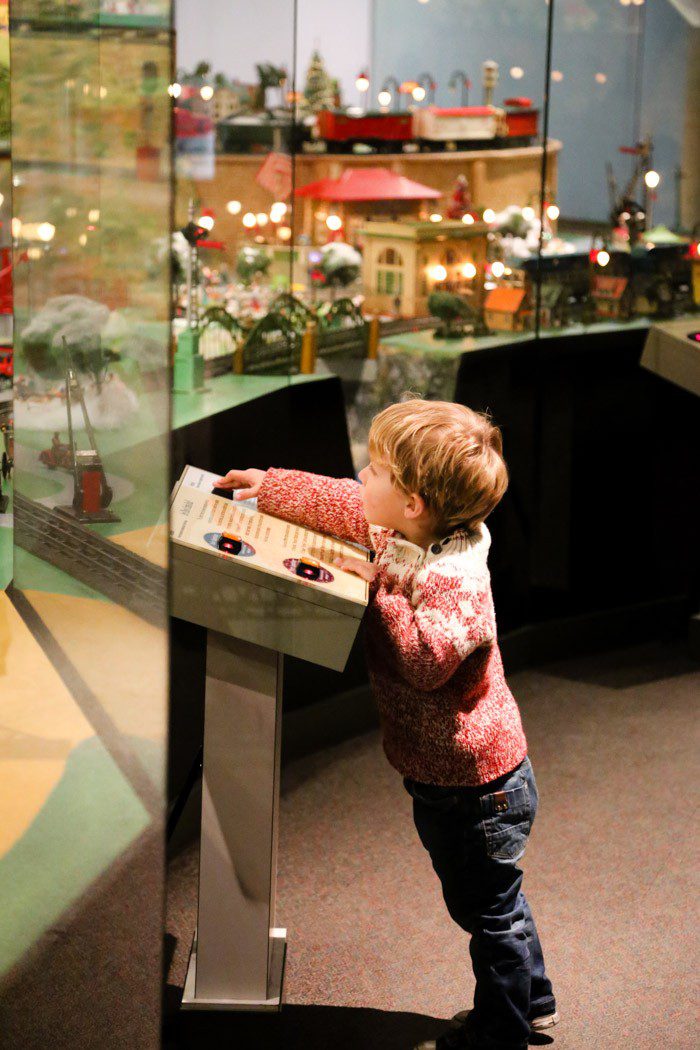
Aron and I sat down at the end of November and drafted a list of all of the things we wanted to do throughout the month of December—tree lightings, holiday fairs, skating rinks and the like—and then jotted them down and slipped ’em into an advent calendar, trying to balance cozy nights at home with hot cocoa and the Grinch with drives into Sacramento or San Francisco. Enjoying some holiday movies are definitely a part of the plan this year, so I’d love to avoid defaulting to screen-time in the car and still keep Hudson entertained with something seasonal.
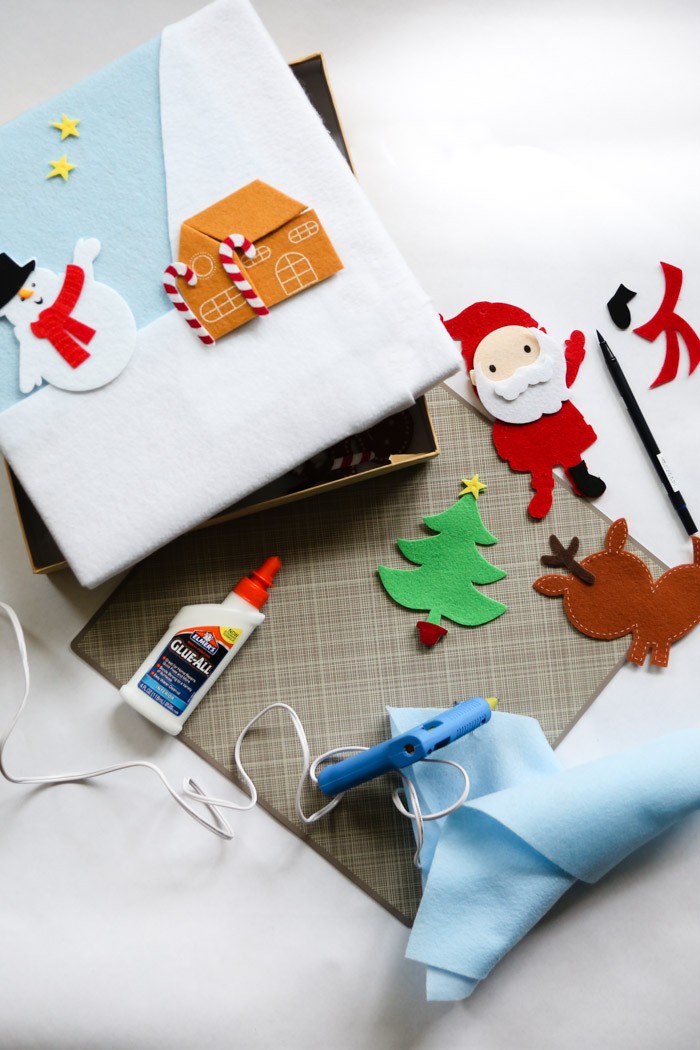
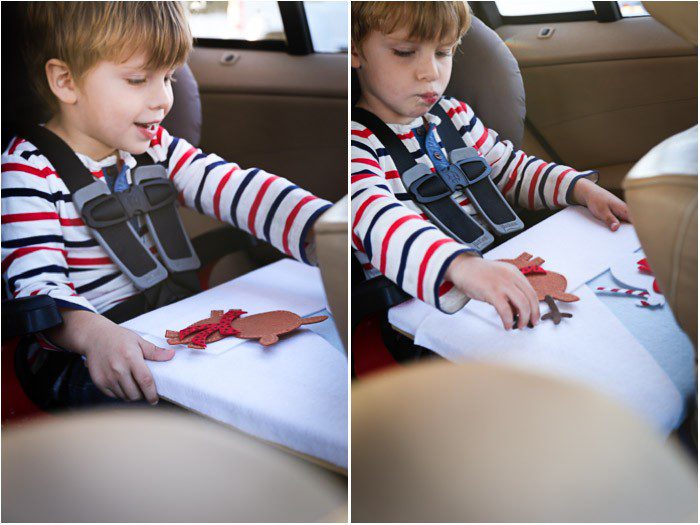
We have been coming up with lots of activities for car rides lately—homemade audio books, window clings (I’m going to use this tutorial again for Christmas) and colorful snack boxes, for example. Here’s another simple activity to make and keep handy for car rides, whether en route to see Santa Claus or Grandma Mary: a felt activity board with a winter scene, that can be used over and over. Friction is the magic that holds the shapes on display.
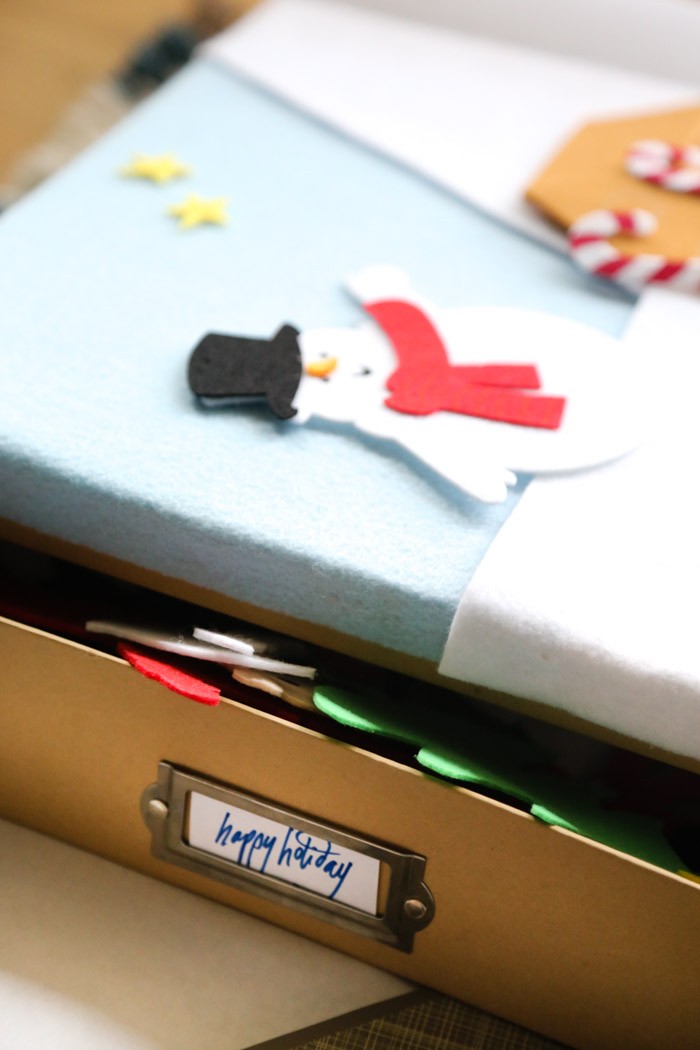
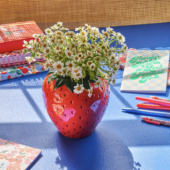
I had some extra felt left over from Skyler’s halloween costume, and thought baby blue and white would be perfect for a backdrop. (You can find felt at any JoAnn’s or Michael’s.)
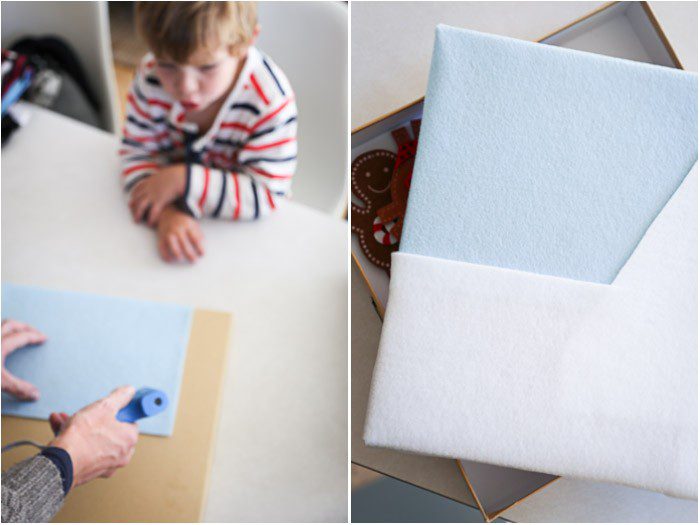
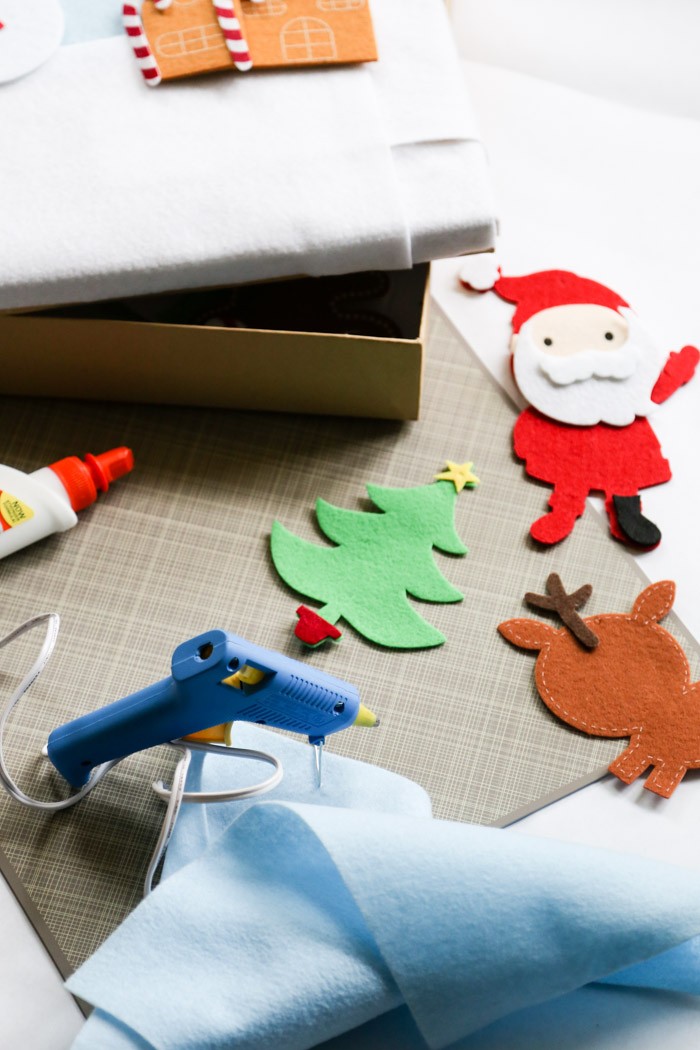
With a hot glue gun, the felt can be layered on any piece of cardboard, but I chose to use the lid of a thin box so that all of the decorative pieces could be stored inside. The pieces themselves remain unattached, to be moved around freely.
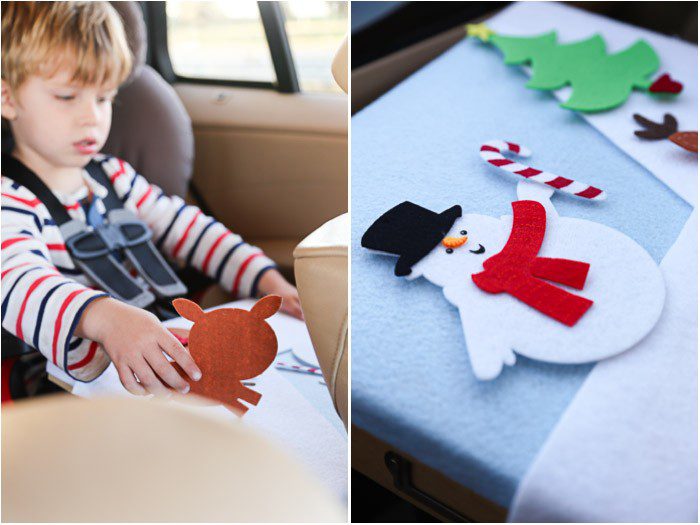
As for the scenes themselves? You can easily cut them out yourself: Three white circles and you have a snowman! A green triangle and some small colored scraps and it’s a tree to decorate!
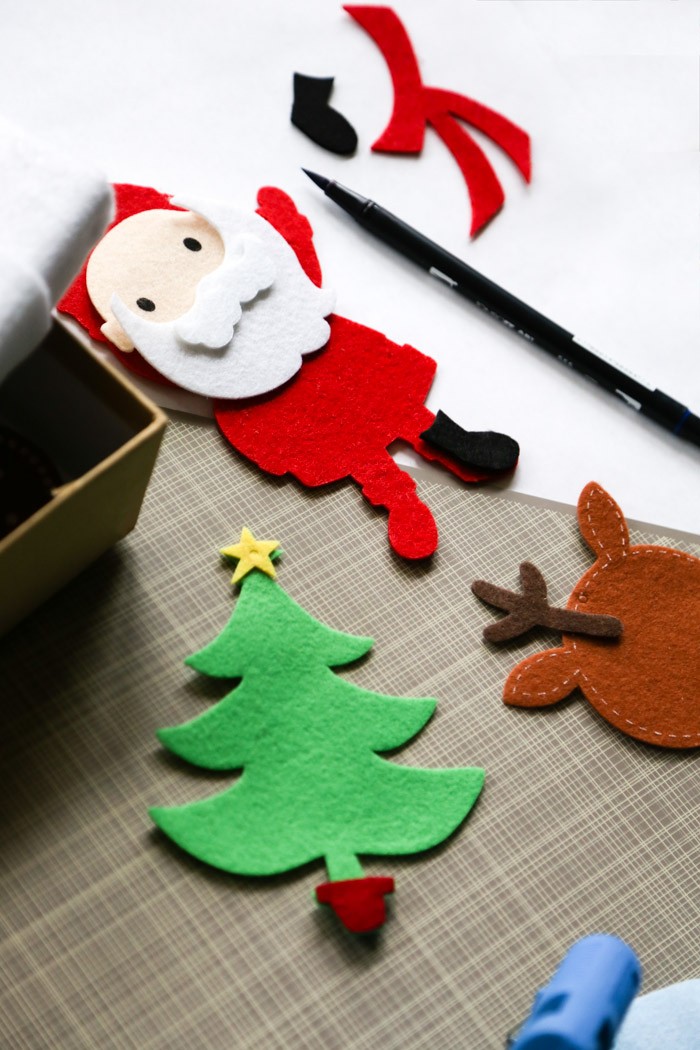
While I have an interest in crafting, I so rarely have the time! So I took a shortcut: craft stores tend to carry pre-cut felt shapes (especially around the holidays, for making ornaments), and there are Etsy vendors who sell seasonal felt packages, too. If you’re not up to the task, or your child isn’t old enough to wield a pair of scissors, there’s nothing wrong with purchasing precut shapes for felt or flannel boards
. Trust me—they’ll enjoy it just the same.
A few notes: The box-lid background probably took me ten minutes to assemble, and Hudson played with it in the car for at least fifteen minutes each way. I found that, for his age, it was best to have larger pieces (in other words, consider drawing eyes on the felt rather than messing with tiny black dots), to make it easy to find everything by himself. That way we could talk about the scene without my needing to reach into the backseat to help. (He is obsessed—a little scared, a little thrilled—with the “bad snowman” in Frozen right now and wanted to know if this guy was funny or bad. I told him it was “Frosty.”) And that’s the goal.
How do you keep the little ones engaged throughout all the car rides required during the holidays? All tips welcome!
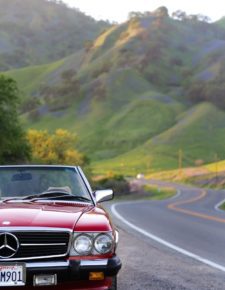
This content was created in partnership with Ford to help make creativity a part of every drive this holiday season.
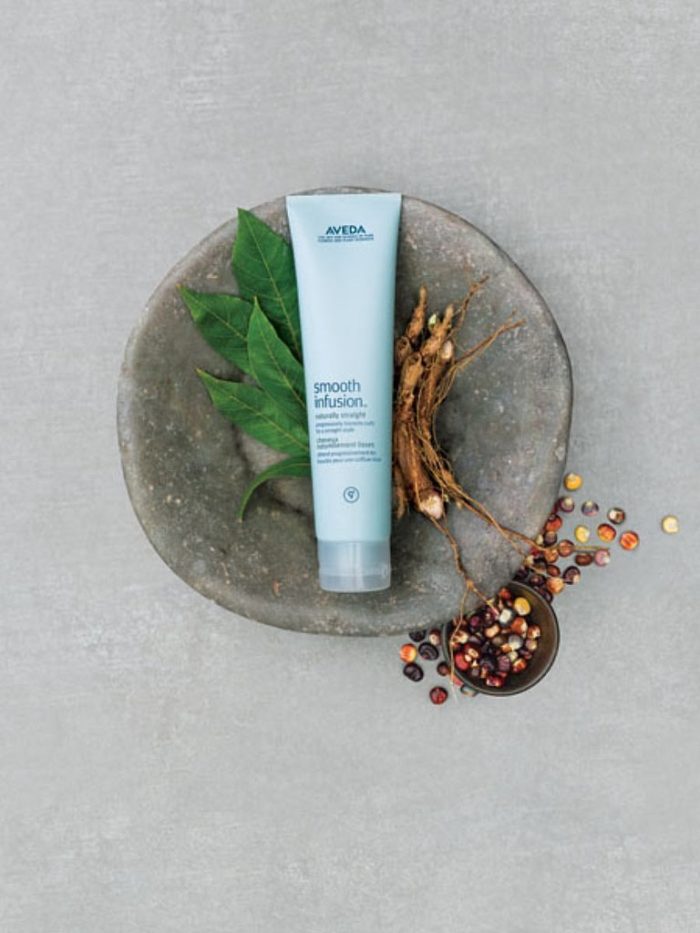
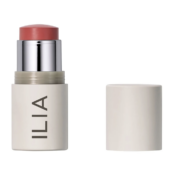
Two years ago, I wrote a Desert Isle Beauty Pick post about Becca tinted moisturizer (which seems to be going off the shelves now… I’m hoarding a couple of bottles), and while—let me reiterate—I wouldn’t really be silly enough to put on makeup or do my hair if I were deserted on an island, I’ve found something else worthy of that degree of accolade: Aveda’s Smooth Infusion Naturally Straight.
At the salon, the stylist told me that using this consecutively gives results akin to a Keratin treatment. I couldn’t say, but I do know that I can practically finger-dry my hair straight after using it—and I have naturally wavy hair. It also cuts drying time for me. It’s the best thing I’ve found for hair in years (since dry shampoo, that is.) Highly recommended.
I wish I were a more loyal beauty shopper so that I could have the fun of dishing about lipsticks and brow pencils more often, but I’m actually pretty inconsistent when it comes to wearing makeup. I have a few favorites that someone showed me how to use at a makeup counter just before I got married, and I’ve been using the same things ever since. Mostly, I focus on being happy with my hair.
If someone you know spends a lot of time agonizing over round brushes and hair dryer wattages, add it as a stocking stuffer to your gifts for her.
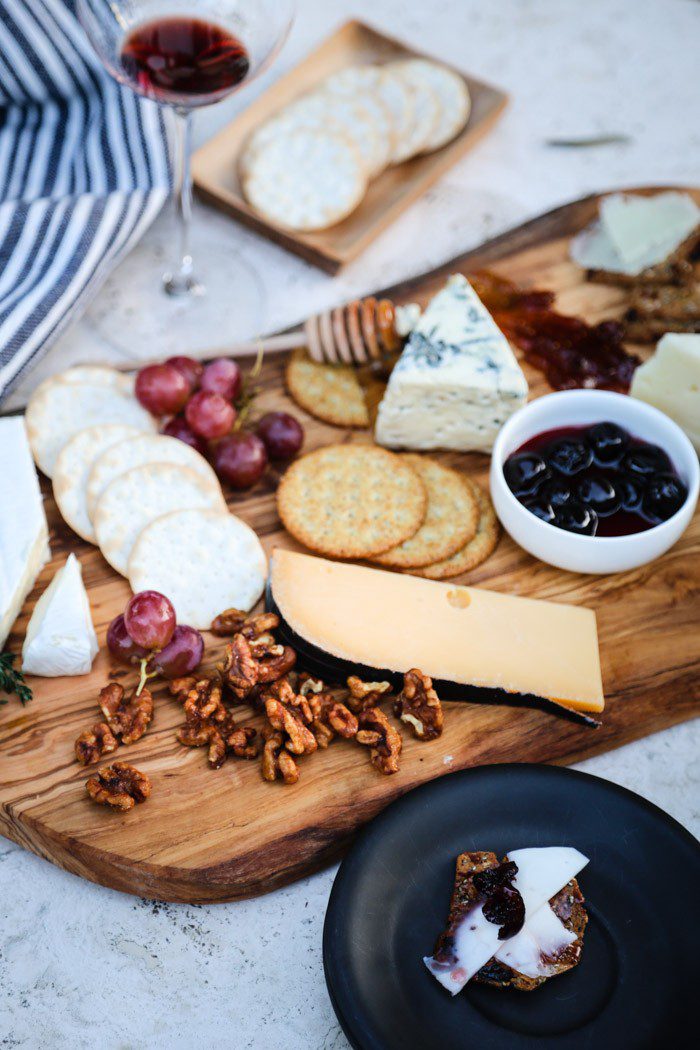
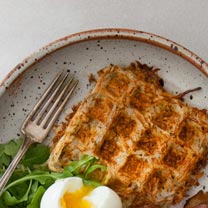
Holiday party-season is upon us. And as creative and inventive as one might want to be—eggnog-flavored donuts, let’s say—a good cheese board is always a safe bet.
A few tips for making a good one:
1. Get suggestions. Visit a cheesemonger in a cheese shop or a grocery store that stocks a dedicated cheese counter (Nugget or Whole Foods, for example locally) and have some fun sampling. Don’t be shy. Just spell out the plan. For example, you might try: “I’m hosting a party with twenty friends. It’s a casual, but festive get together with beer and wine. Hoping to get three or four cheeses and keep the cost under $25. Any recommendations?” Most are eager to help—and will offer tastes. If they’re at all snooty, they’re no good at customer service; it’s not you, it’s them.
2. Mix it up. Whether you get help or make selections from the cold bin at Trader Joe’s (fine, too!), aim for a mix of textures and, possibly, milk sources. Goat’s, sheep’s, or cow’s milk cheeses (or blends) are usually described as hard/aged, soft, firm, or blue. (If you aren’t having a large gathering, less is more: two good cheeses, one hard and one soft, is enough. Three ounces per person is a good rule of thumb.)
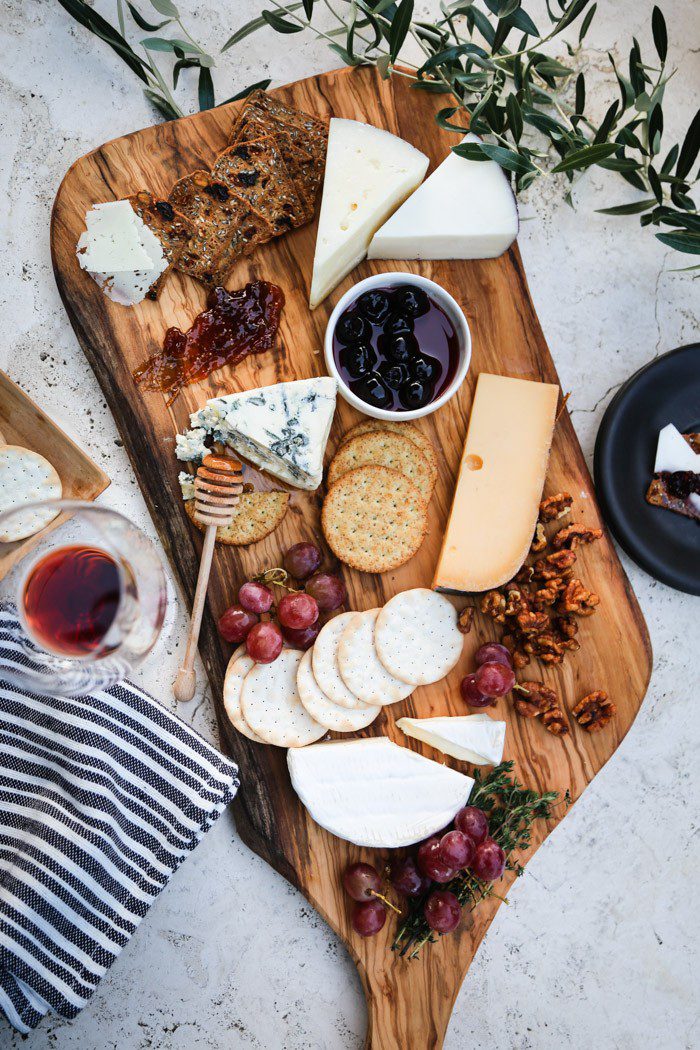
3. Take it out. Unwrap your cheese and bring it to room temperature before serving. You can arrange everything on one large, pretty board—or, for a bigger group, you might spread it out to prevent a back-up. I was eager to use this large piece of olive wood we brought home from a trip.
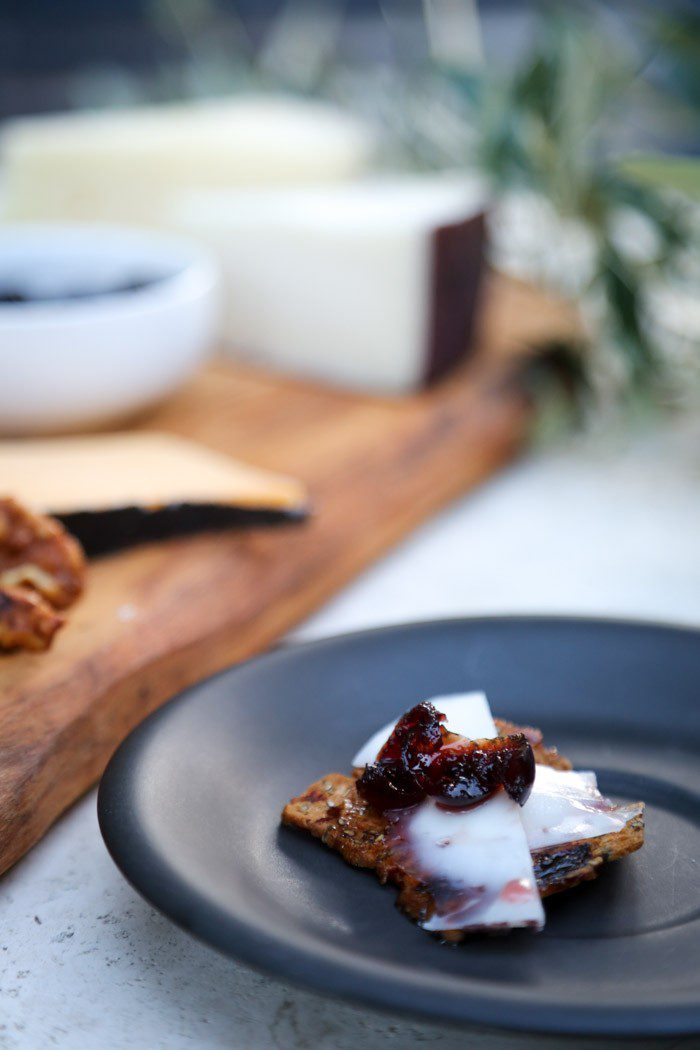
4. Pre-cut or slice it. (At least some.)Bon Appétit magazine cautions again cubing the cheese (too “after-school snack”) or slicing too-thin strips (which can “‘sweat’ and become translucent-looking,” a sign that the cheese is losing flavor). Don’t worry if you don’t have the exact right selection of cheese knives. Cheese planes and wires and spoons (for a wonderfully runny Époisses) are lovely to use, but just be sure to at least offer a distinct knife for each cheese if you don’t have those things.
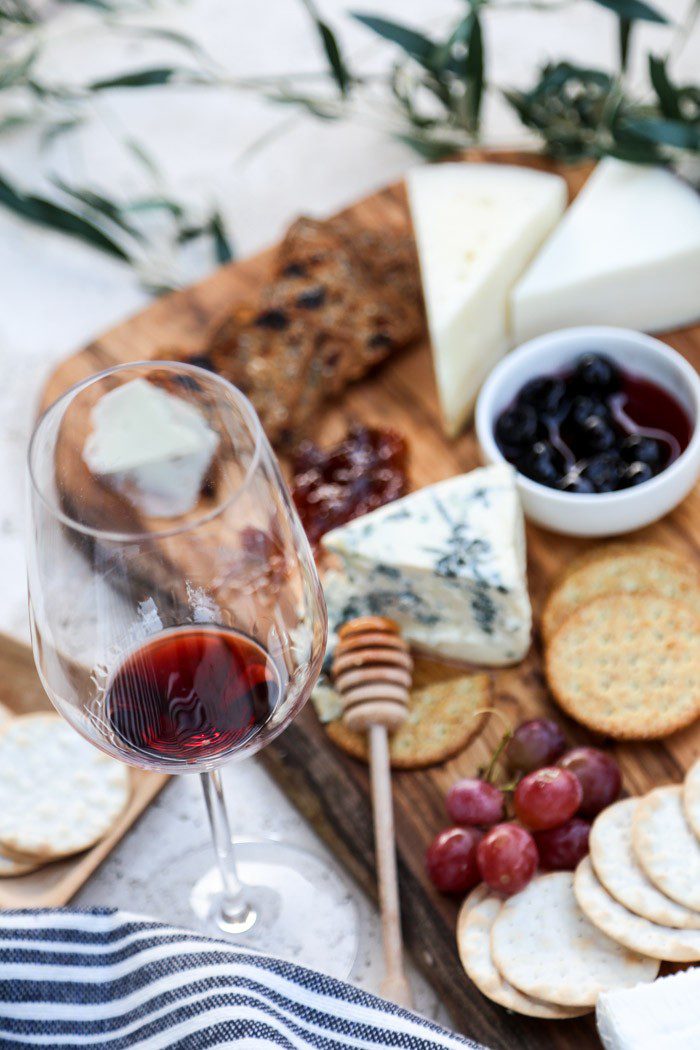
5. Pair it. Consider some options beyond the baguette (water crackers, crostinis, flatbreads, for example). And set the cheese beside things like jam-style fruit spreads, olives, nuts, cornichons, apples, honey or even chocolate for additional flavor. (But, in general, avoid flavored cheese. Truffles and specially prepared rinds—ash, pine, and like—being the major exception.)
Finally, have some fun. Disregard everything I said and try the peppermint-rind cheddar or the caramel-like goat cheese, or use your family’s recipe for brie baked in crescent-roll dough from the pop-tin. Your friends will appreciate that, too.
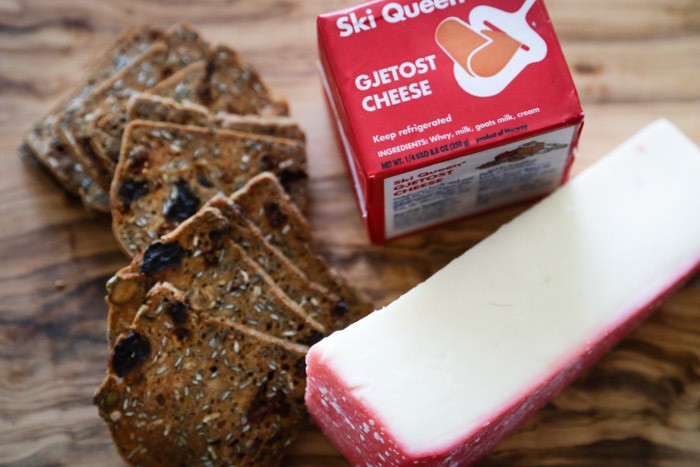
Pictured cheeses: Drunken Goat, Cinco Lanzas, Saint Agur (bleu), Old Amsterdam (aged Gouda), and Marin French. The bottom two are Gjetost from Norway, and a peppermint-rind BellaVitano by the Sartori Company of Wisconsin.